Step 1: Go to the Forms tab and create an embedded form by clicking the + Create Form button.

Step 2: From there, choose your group.

Step 3: After that, make sure to select Embedded instead of Hosted. And choose any designs that you like from below.

Step 4: From there, you can design your form on whatever you want it to look like.

Step 5: Go to the field and map the first name and if you’re new to Mailvio, make sure to create the custom field (by clicking Add a New Custom Field) and fill in the things required.

Step 6: After mapping, click Save and Continue in the upper right corner.

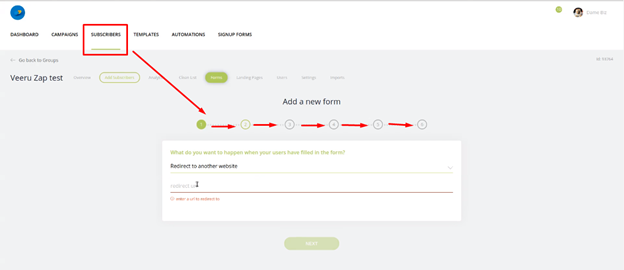
Step 7: You will be routed to the Contacts/Subscribers tab wherein there are some settings that you need to set up.
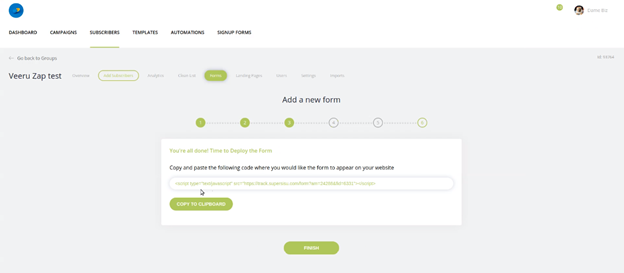
Step 8: Once you reach this setting, just click Copy to Clipboard then click Finish.
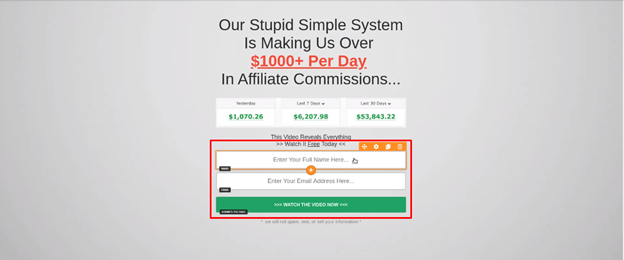
Step 9: Go to ClickFunnels and delete the form fields and the button.
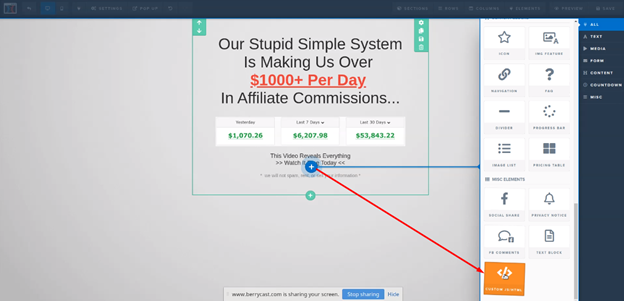
Step 10: Hover and click the Plus sign.
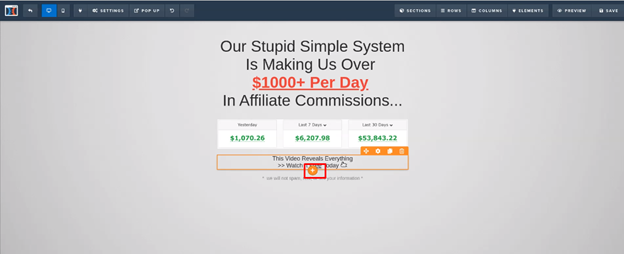
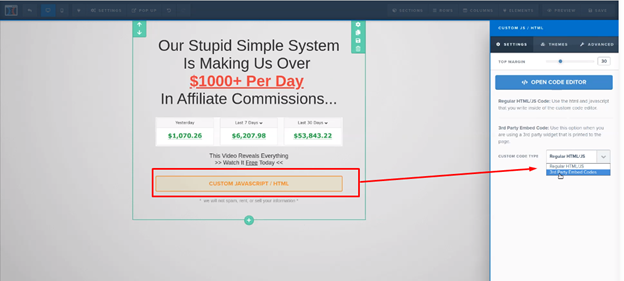
Step 11: From there, a display box will show, and scroll down and select Custom JS/HTML.
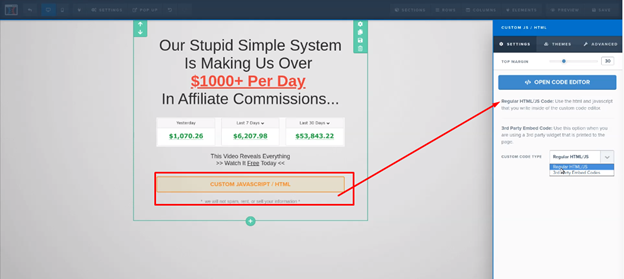
Step 12: Once done, click on that Custom Javascript/HTML field and a display box will show. Click on the Open Code Editor button.
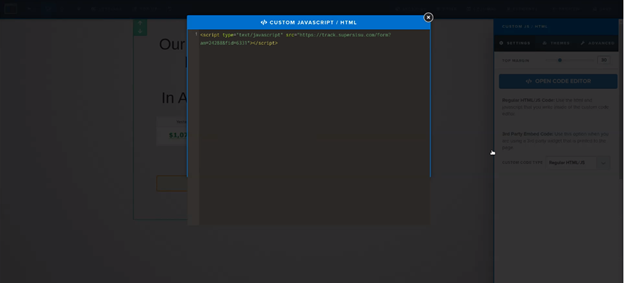
Step 13: Paste the code that you copied from the clipboard and just close it.
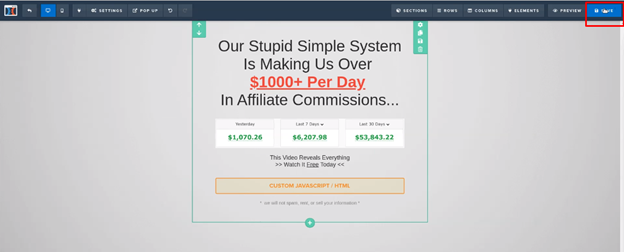
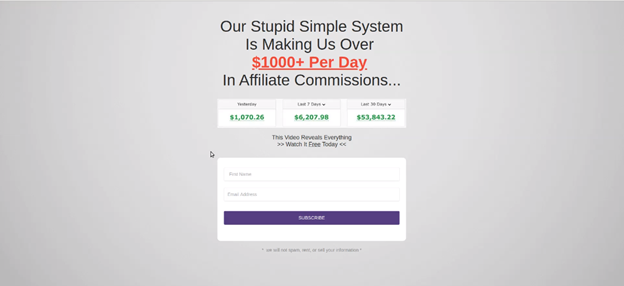
Step 14: From there, click Save in the upper right corner. You can also preview it to check if it’s working properly.
Step 15: If not working properly, you can just change from Regular HTML/JS to 3rd Party Embed Codes. Then just click Save.
Step 16: After that, just refresh the page and you’re done.
Note: If you have some additional changes on the form, go back to Mailvio and edit it.