How to Add a Signup Form?
Step 1: Before you begin, you must make sure you are logged in to the MAILVIO control panel.
Step 2: Once logged in to the MAILVIO control panel, click the "SIGNUP FORMS" tab at the top of the screen.
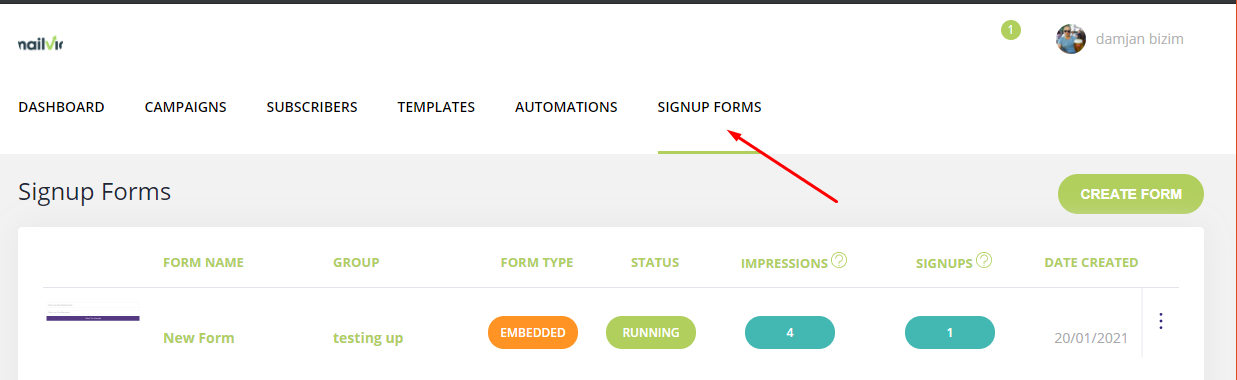
Step 3: On the Signup Forms page, you will see the option to click 'create new form'.
Step 4: You will then have the option to select an existing group or create a new group for the new signups to be added to.
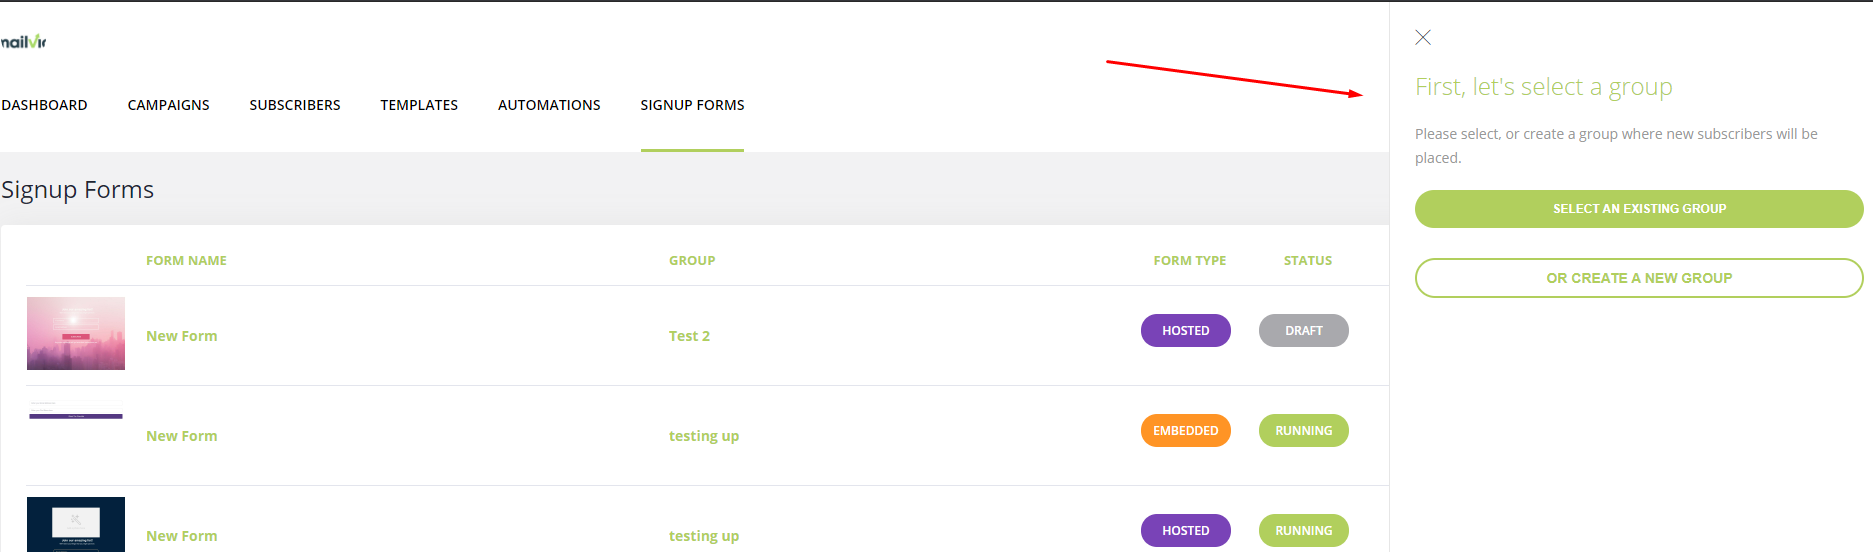
If you need to create a new group you will need to enter some information into the fields on the right-hand side.

Step 5: Once you've either added a new group or selected a group you'll be taken to a new page to select which type of Signup Form you want to create, Hosted or Embedded.

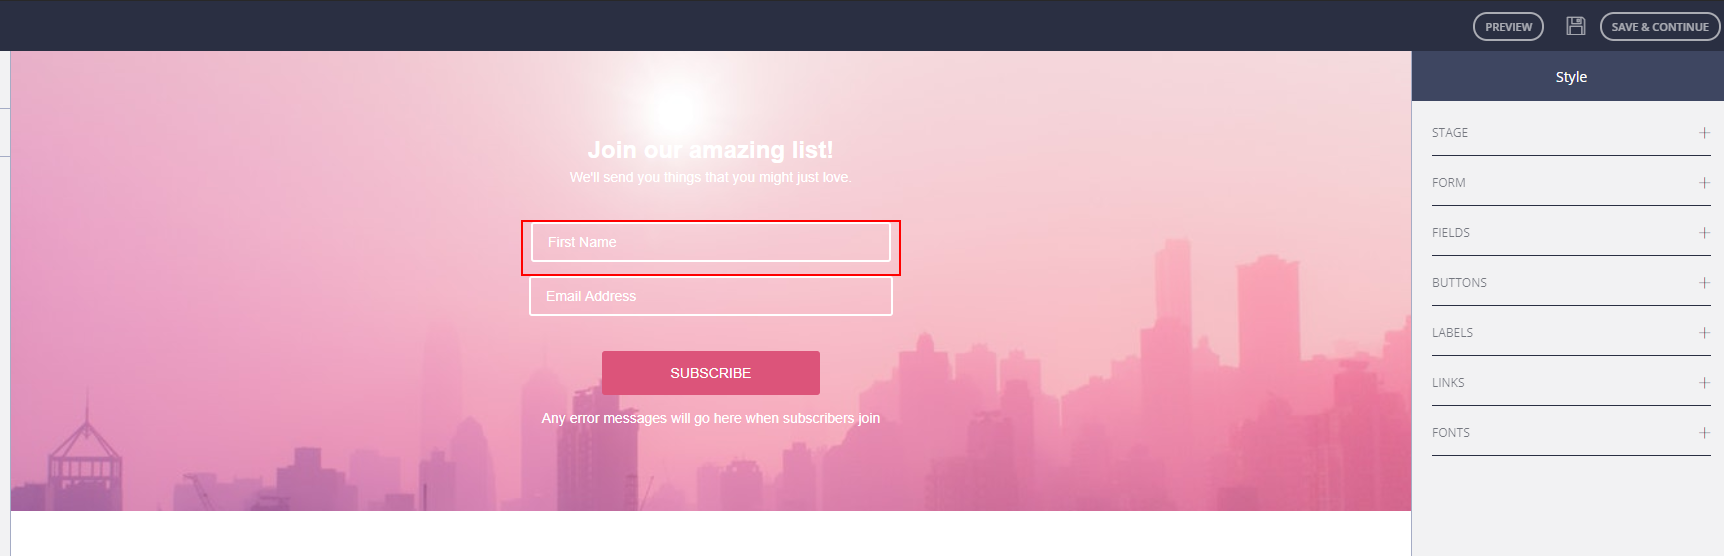
1). Let's take a look at the Hosted option first, you will get the choice of three different themes to choose from depending on which you like and which would suit your website best.
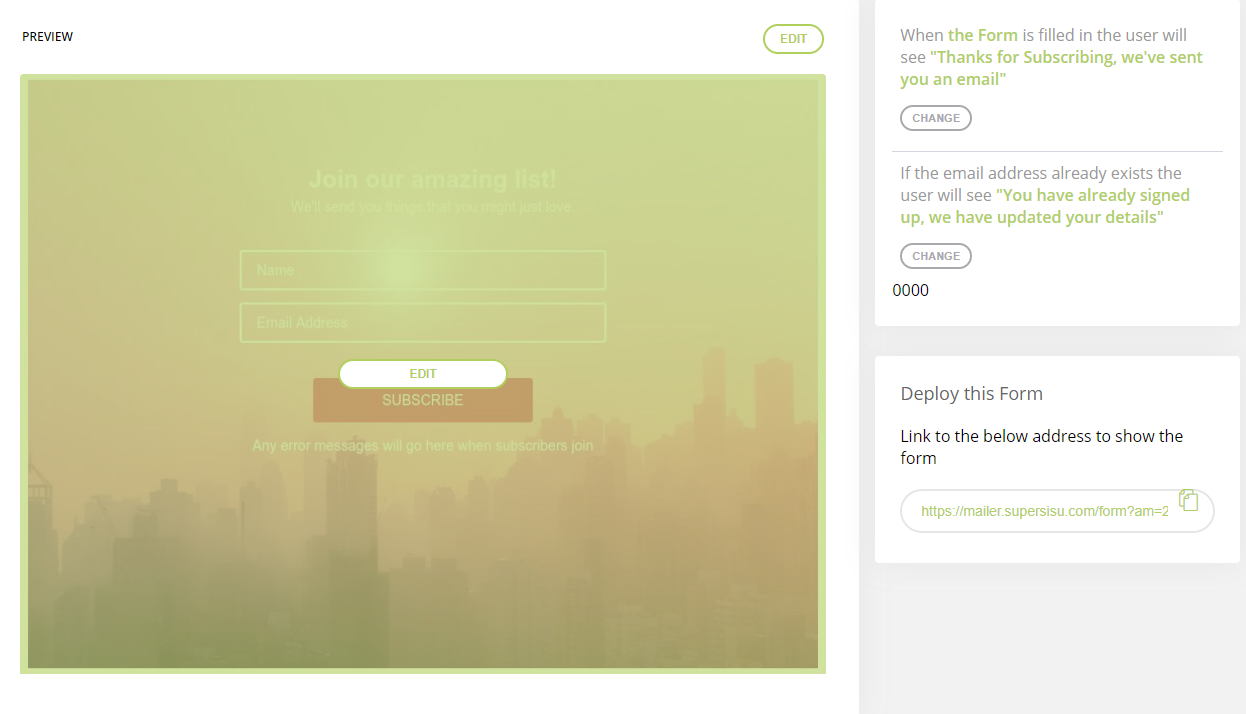
2). Once you've edited your form and saved it you'll be taken to a preview page to make sure everything is looking good. You can copy the link and deploy it into your social media, website, emails, etc so that people can click the link and be sent to the Signup Form.
3). Once your customers click the link they'll be directed to a page like this, where they can sign up.
1). Now let's look at Embedded Signup Forms. Once you've chosen this option you'll be taken to the theme options to customize your form.

2). Once you've finished editing your Embedded Signup Form you'll be taken to the final page which lets you preview your form to make sure everything is looking good. Now you can deploy the form by copying the code and pasting it into your website. The form will then appear on your website wherever you've copied in the code.
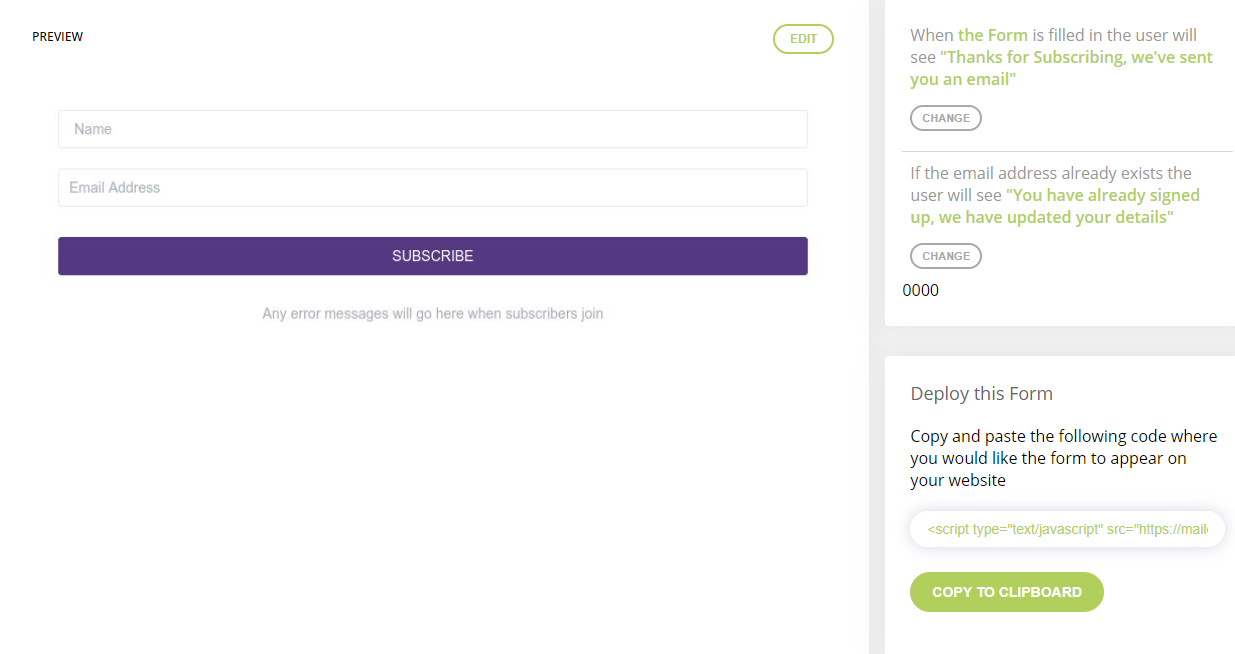
3). The form will now appear wherever you've copied the code to on your website
Your Signup Form is now ready for action!