Create and Send Polls with Mailvio
Step 1: Before you begin, you must make sure you are logged in to the MAILVIO control panel.
Step 2: Once logged in to the MAILVIO control panel, click the "TEMPLATES" tab at the top of the screen.
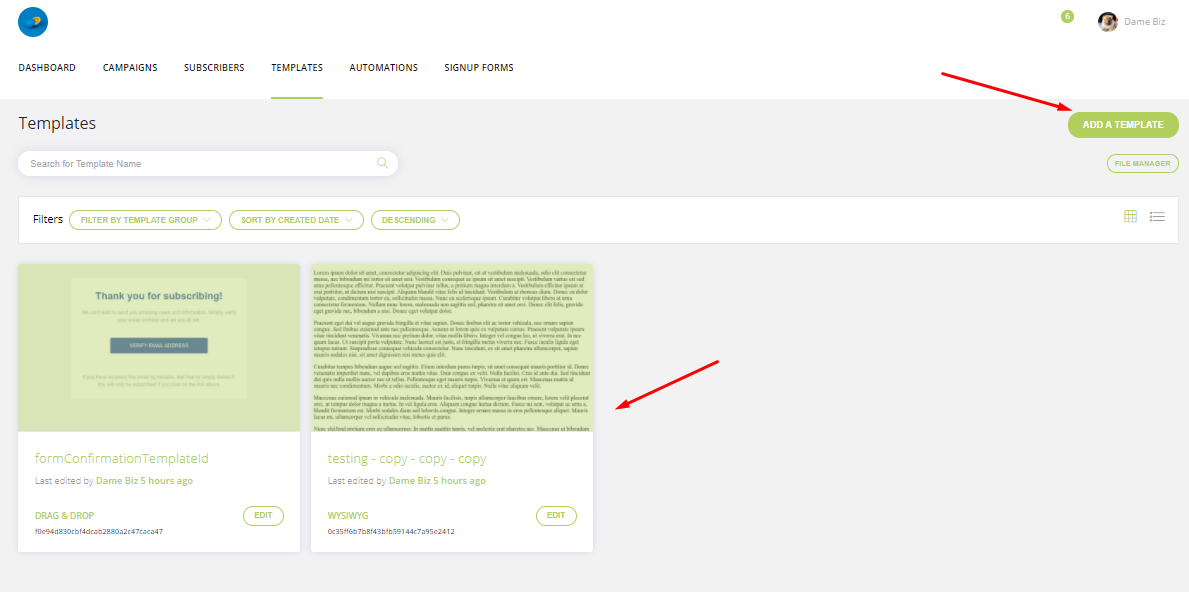
Step 3: On this page, you can see and manage any templates you have previously created. Either add a new template. or edit any existing drag and drop template.
Step 4: Now the template editor has loaded, drag a Poll component onto the stage from the toolbar on the left of the screen...
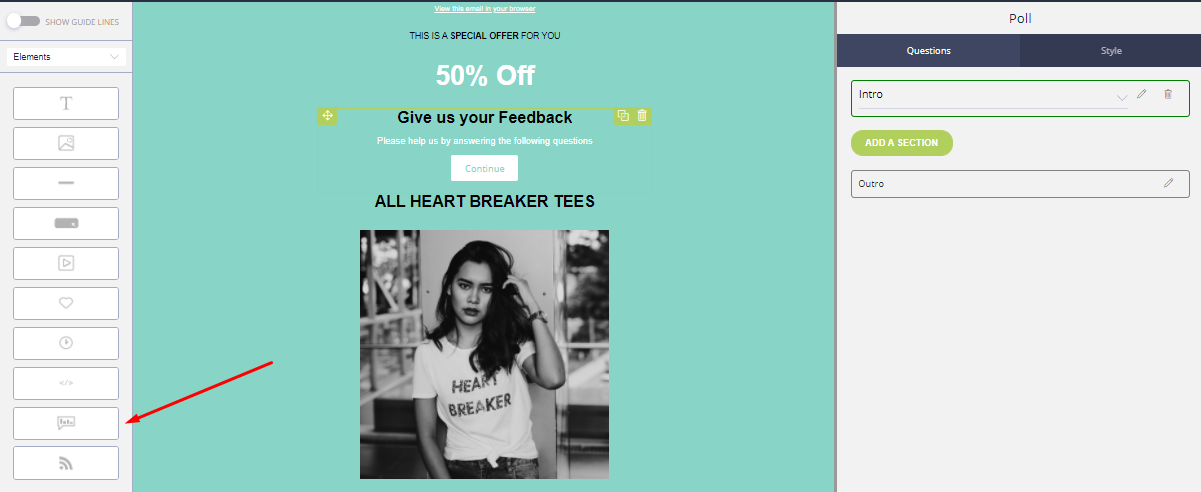
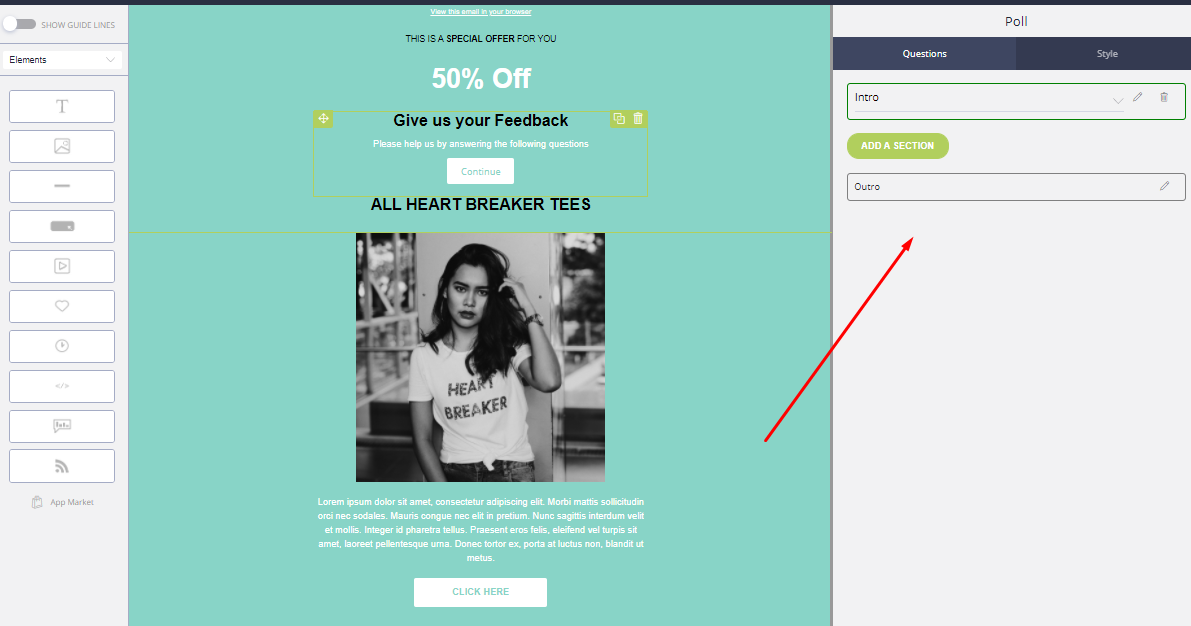
Step 5: You will now see a new poll on your template. Click on it and use the options on the right of the screen to add or remove poll sections.
You can add things like ratings, questions, and much more just by adding sections, and then selecting what type of question they are.
You can also click the little "Edit" pencil next to any section to adjust the questions and answers, look and feel, and much more.
You can add and remove as many sections as required. Do note tho, the "Outro" is always required because it is the last section a subscriber will see confirming they have completed the poll. Of course, you can edit the content of this section by clicking the little pencil.
Step 6: Save your template, and then send it as a campaign.
When subscribers receive your email, they can click on your poll/questionnaire and then complete the results from within their browser.
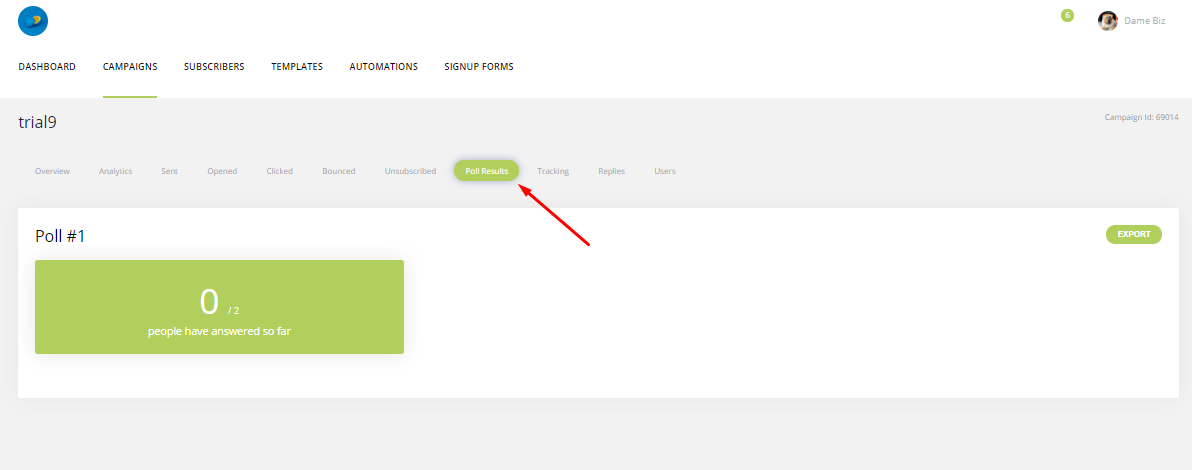
A new "polls" section will appear on the campaign results page for any campaigns sent which include at least one poll. You can view the results of your poll here.