Live Zoom call support can be an effective way to provide assistance remotely. To ensure a smooth experience for both the support agent and the client, it's essential to prepare beforehand. This article will guide you through the steps to prepare for a live Zoom call on both Windows and macOS, including checking Zoom settings, testing screen sharing capabilities, enabling remote control, and testing audio.
Follow this video tutorial for the basic audio and video settings:
Follow this video tutorial for the basics of screen sharing:
Windows
Step 1: Install Zoom
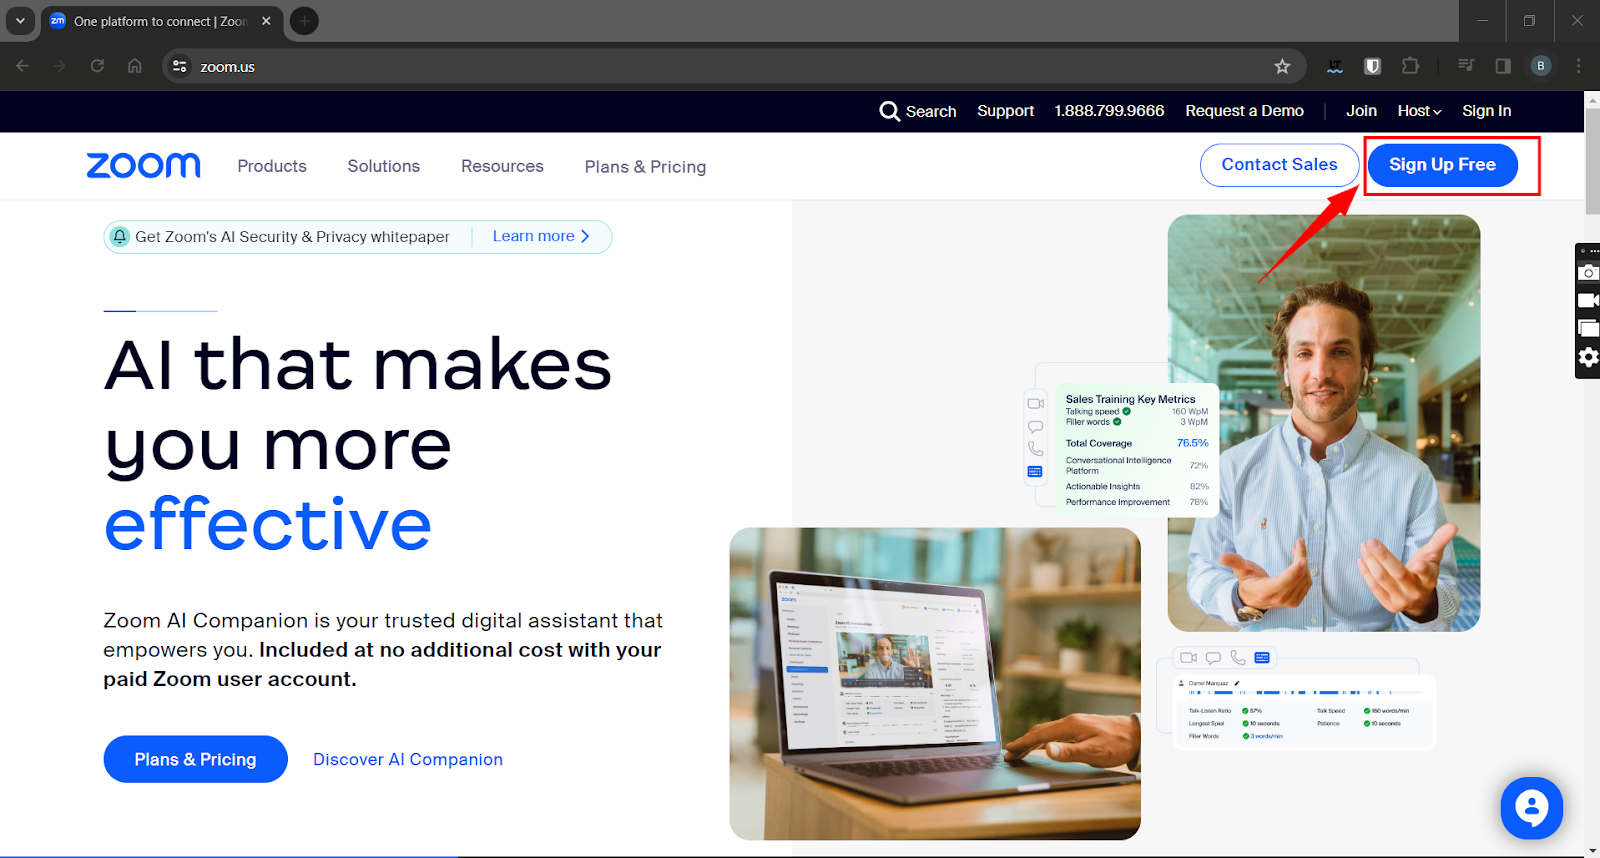
1. Visit the official Zoom website (https://zoom.us/) using your web browser.

2. Click on the "Sign Up, Free" button to create a Zoom account. Fill in the required information and click "Sign Up."
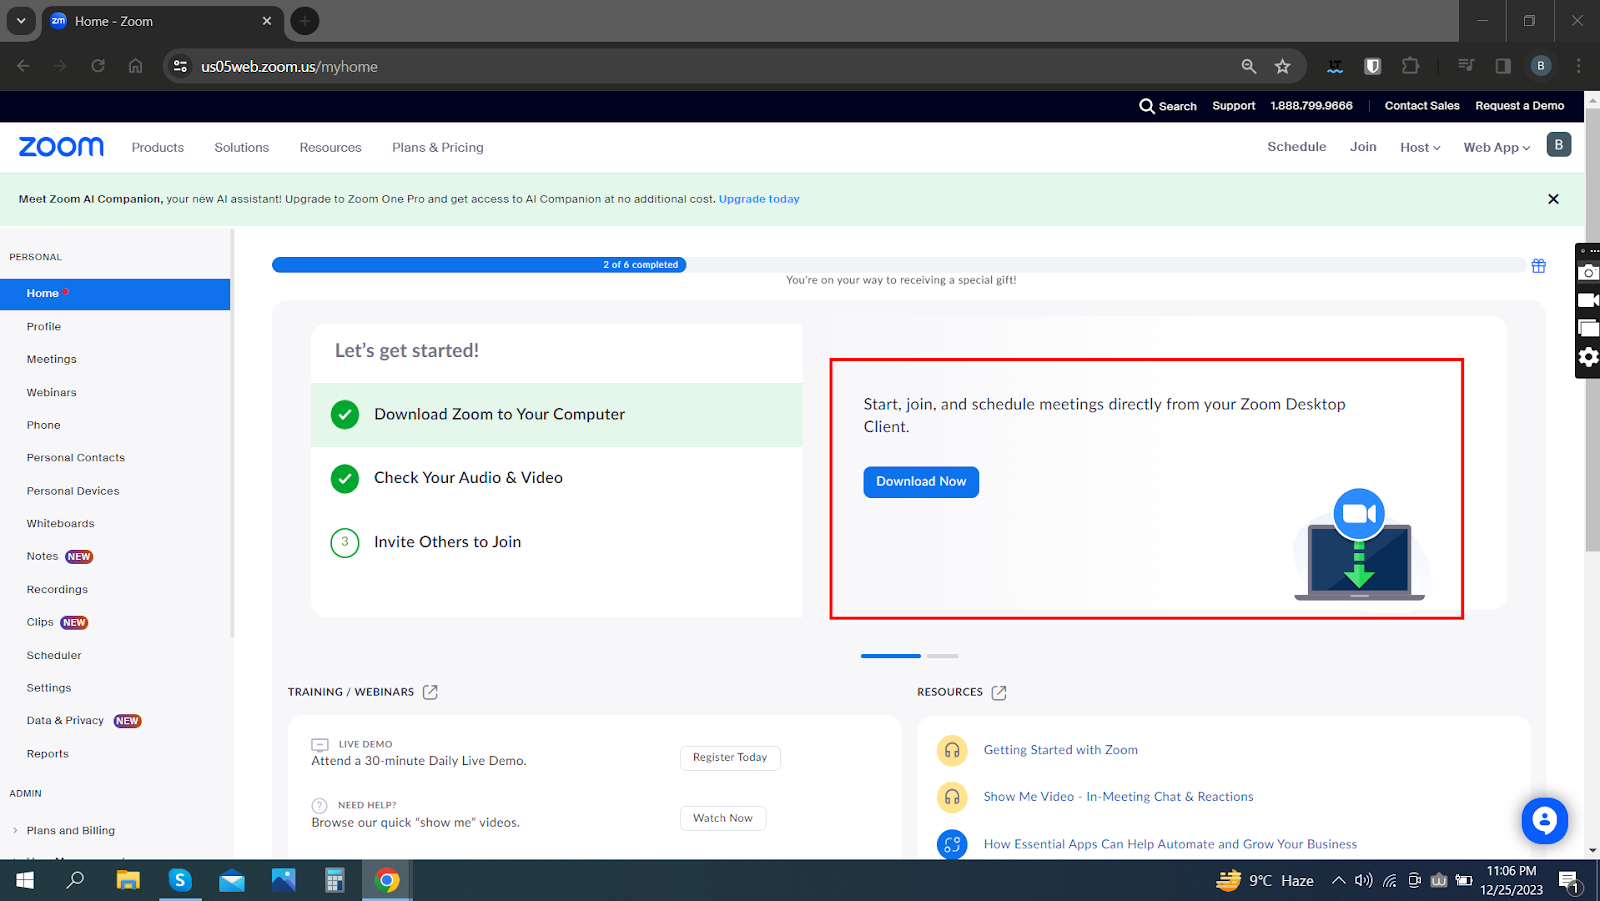
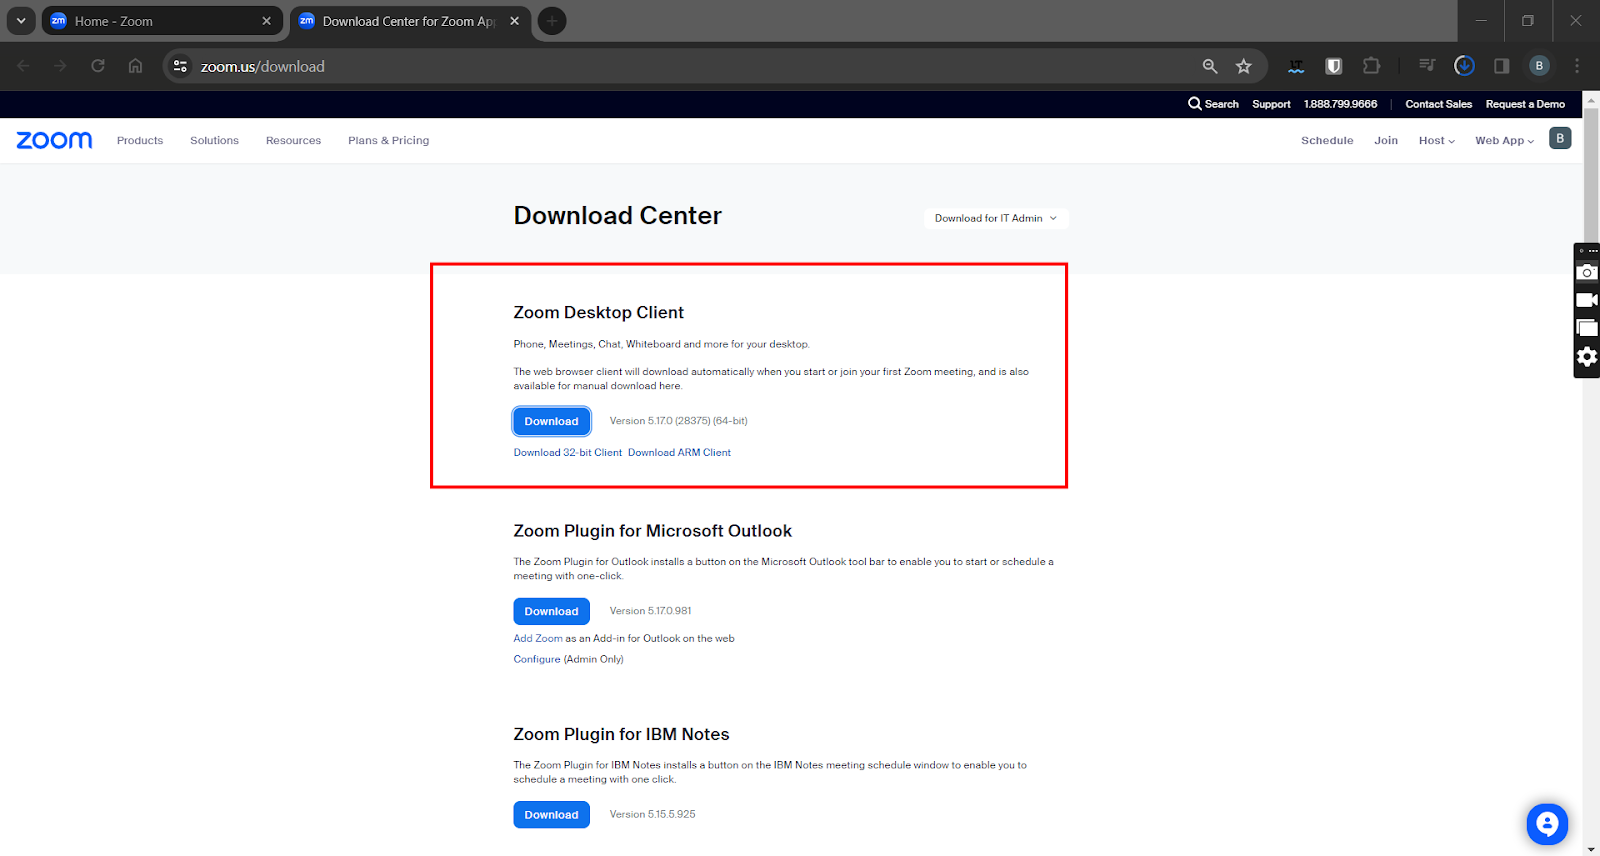
3. After creating an account, you will be redirected to the Zoom download page. Click on "Download" under "Zoom Client for Meetings" to download the installer.
4. Once the installer is downloaded, open it and follow the on-screen instructions to install Zoom on your Windows computer.

Step 2: Check Zoom Settings
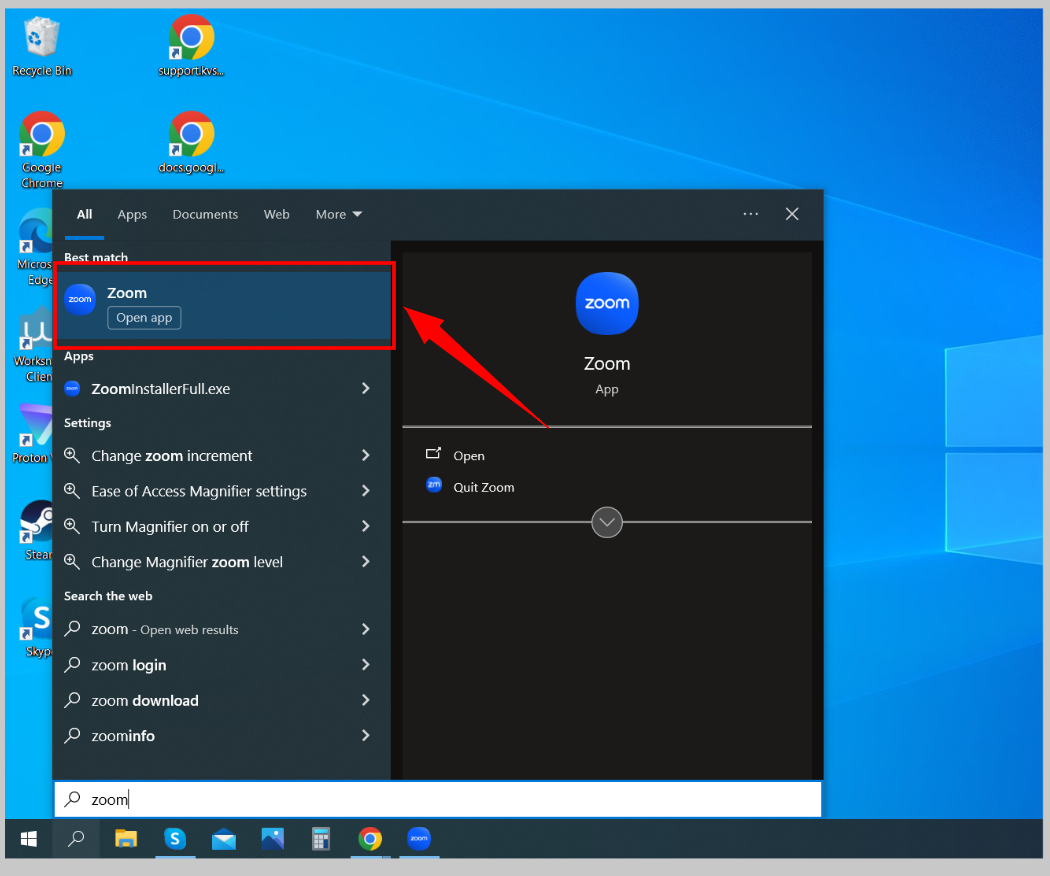
1. Launch the Zoom application on your Windows computer. You can find it by searching for "Zoom" in the Start menu or clicking on the shortcut on your desktop.
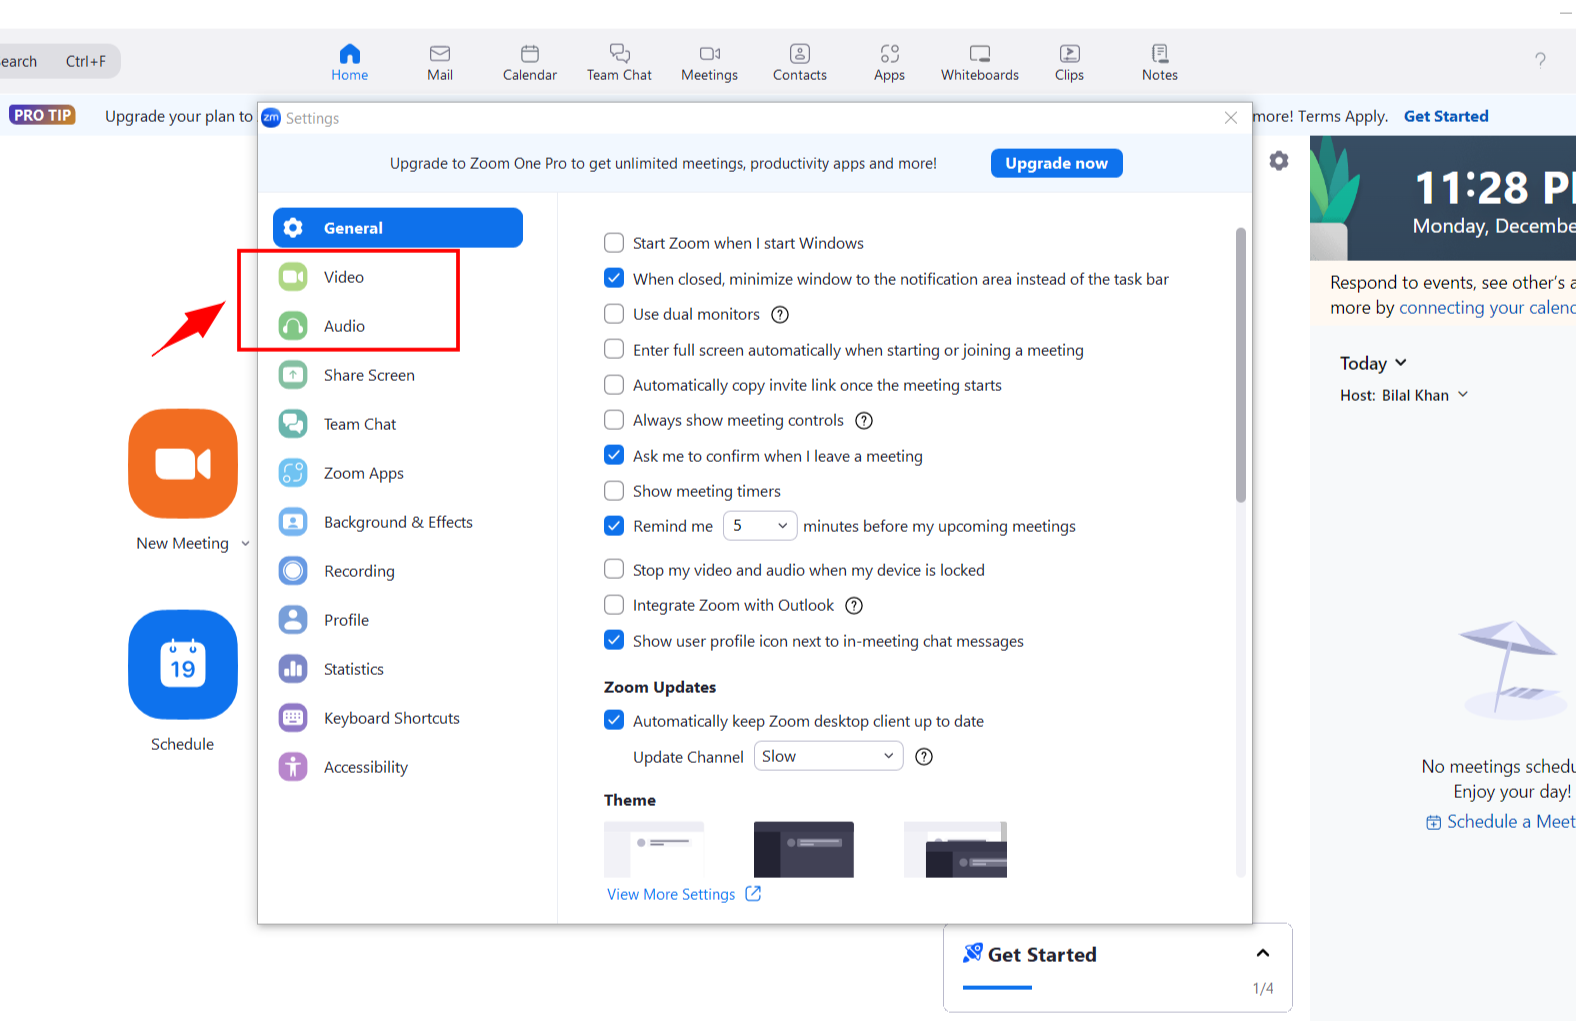
2. When the Zoom application opens, click on the gear icon in the top right corner. This will open the settings menu.
3. In the settings menu, you will find options for audio and video settings. Click on "Audio" and "Video" on the left sidebar to configure your audio and video devices. Make sure the correct microphone and camera are selected.
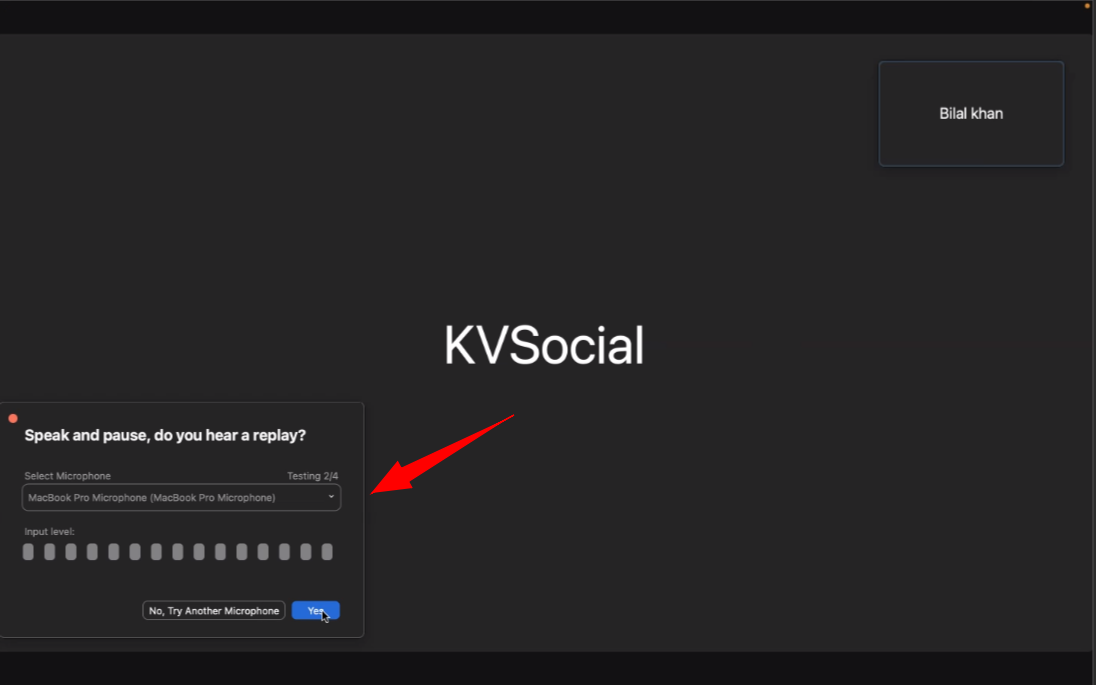
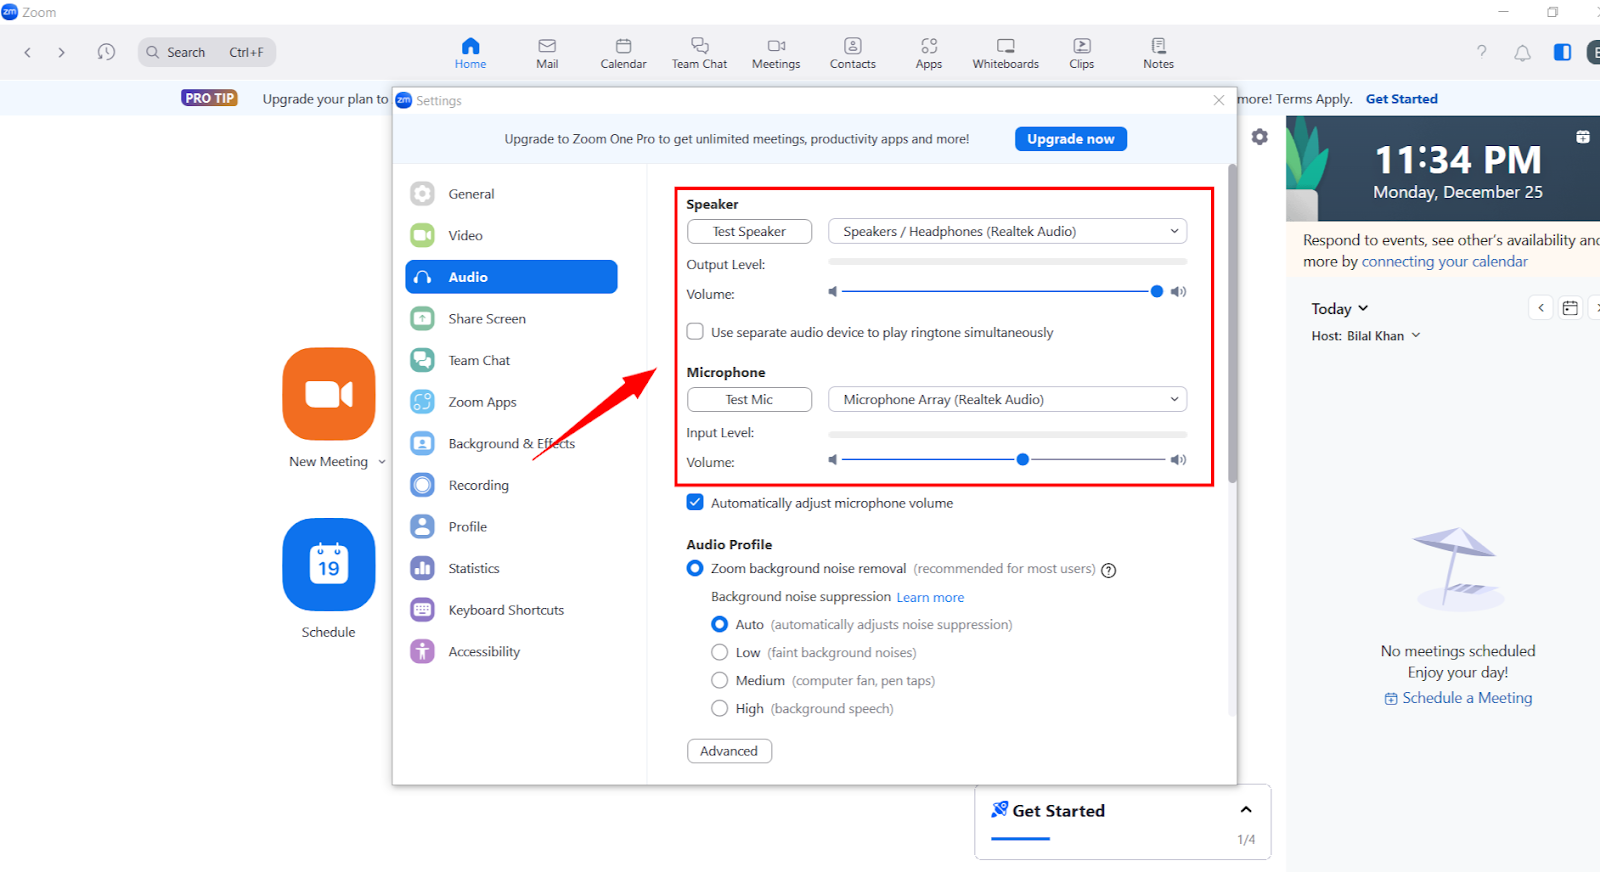
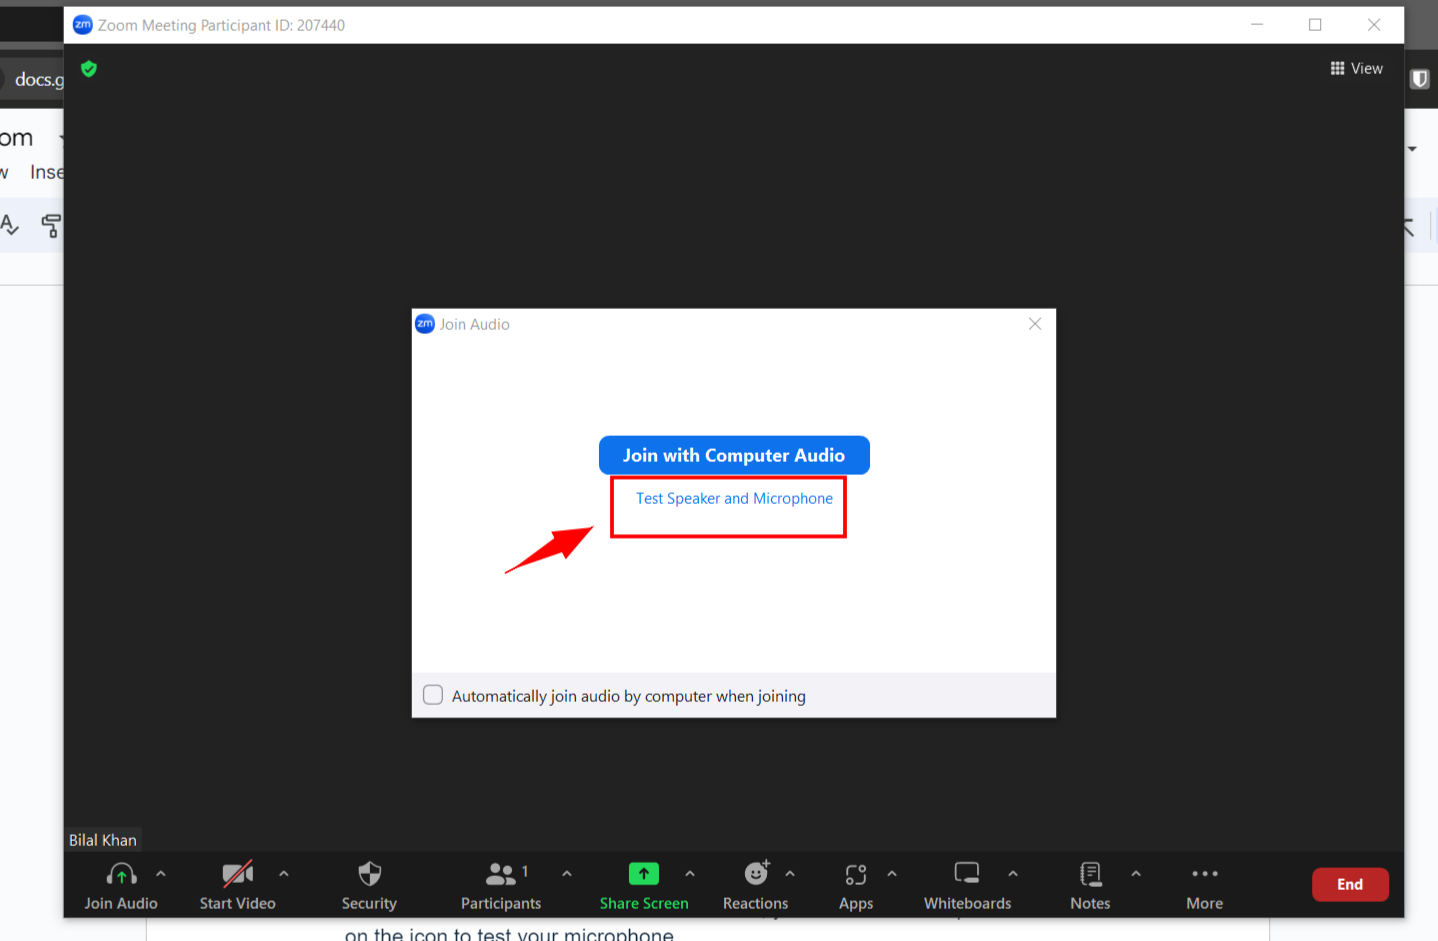
4. To test your audio settings, click on the "Test Speaker" and "Test Mic" buttons. Adjust the volume and microphone input as needed to ensure proper functionality.
Step 3: Test Screen Sharing
1. Start a new meeting by clicking on the "New Meeting" button on the Zoom home screen.

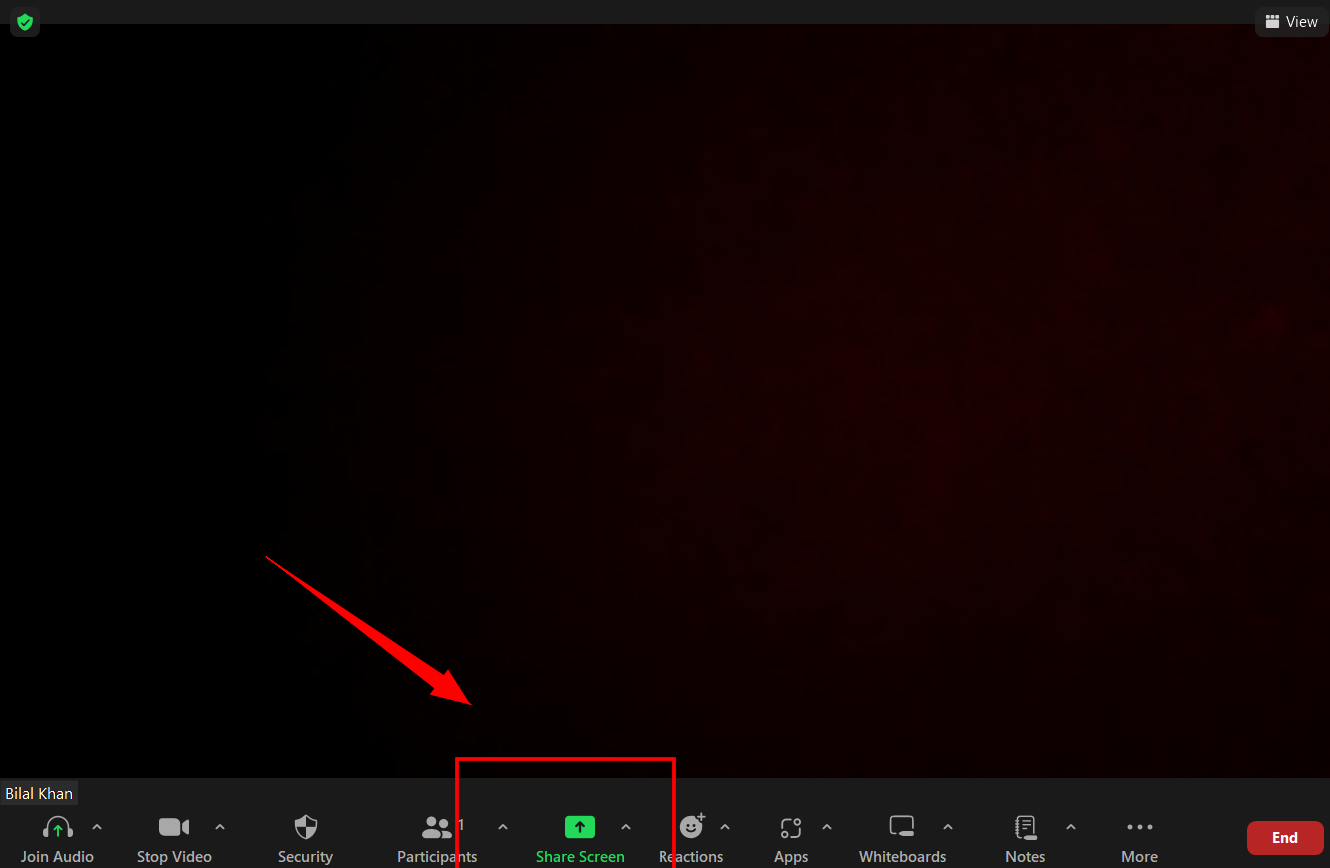
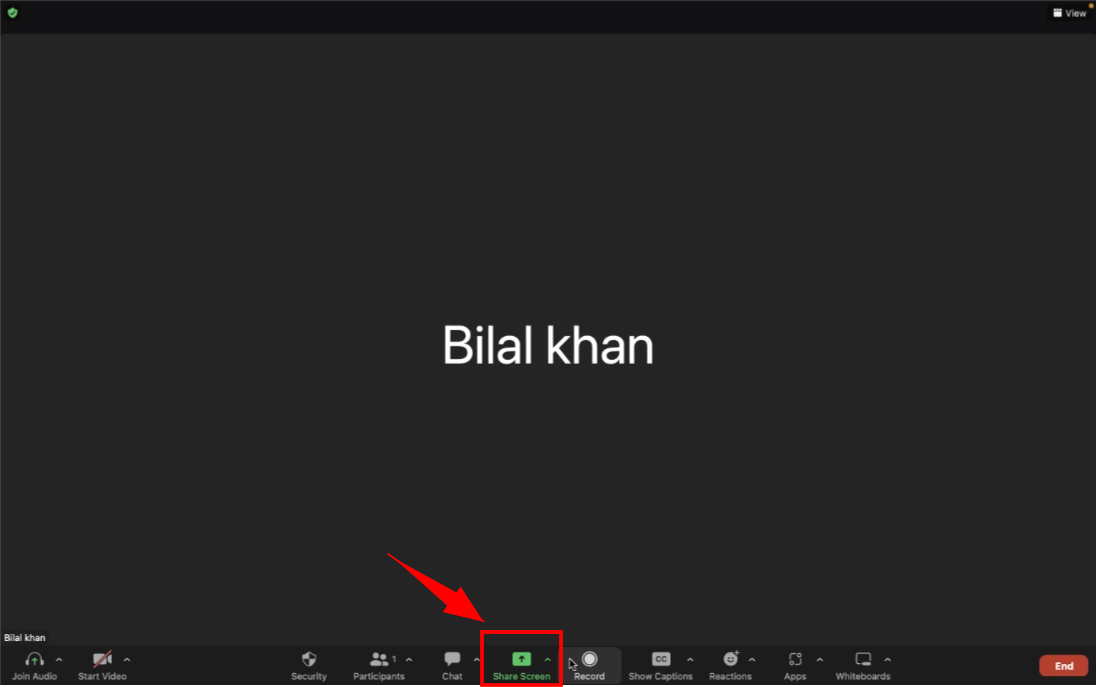
2. Once the meeting starts, you should see a toolbar at the bottom of the Zoom window. Click on the "Share Screen" button in the middle of the toolbar.
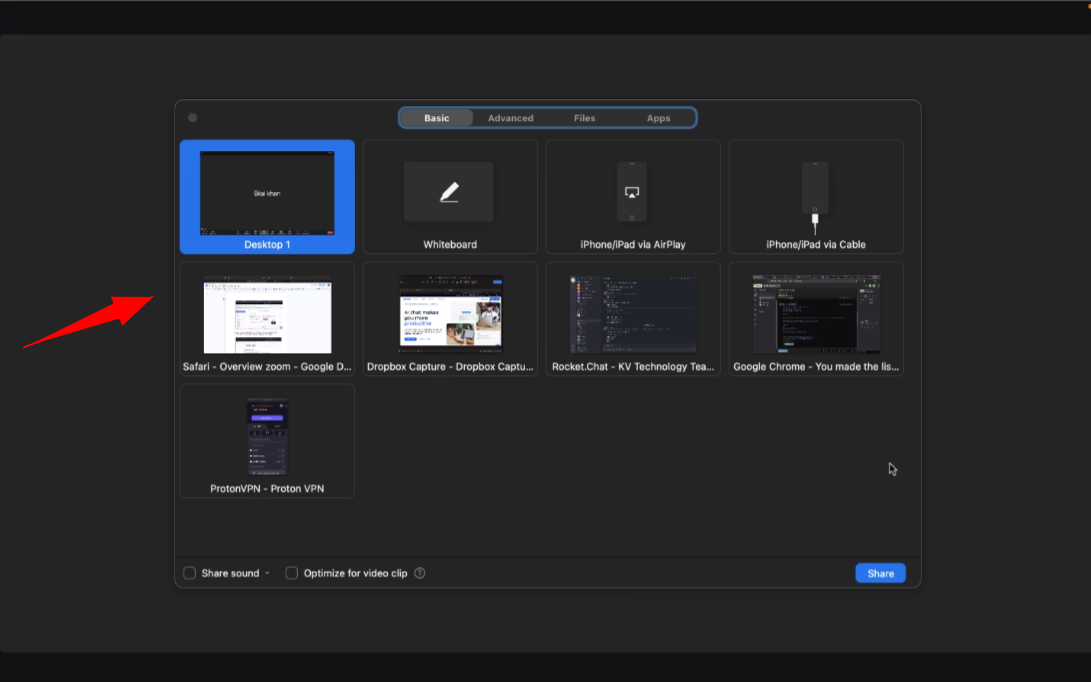
3. A pop-up window will appear, giving you options to choose what you want to share. You can either share your entire screen or select a specific application or window to share.
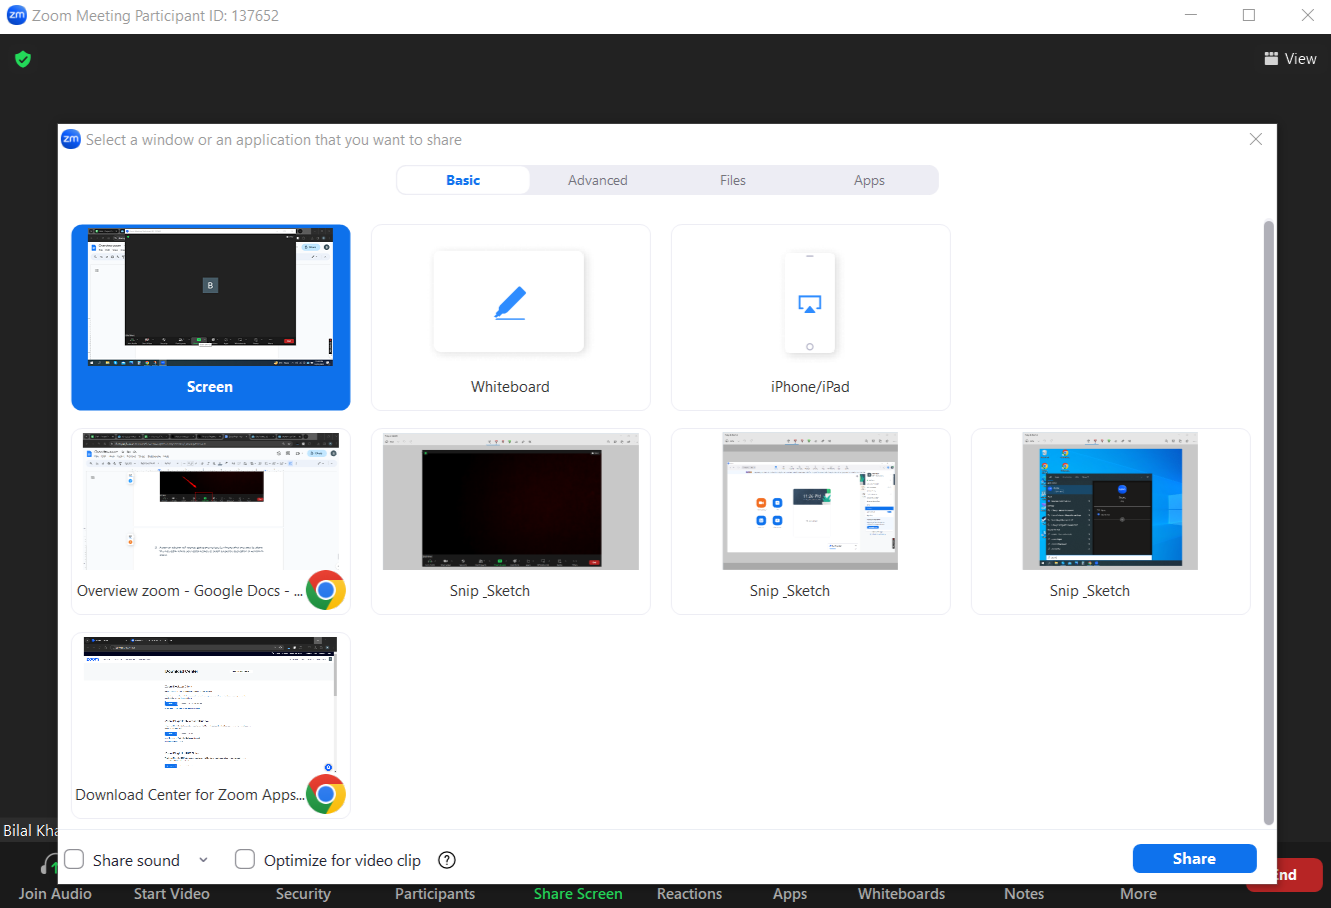
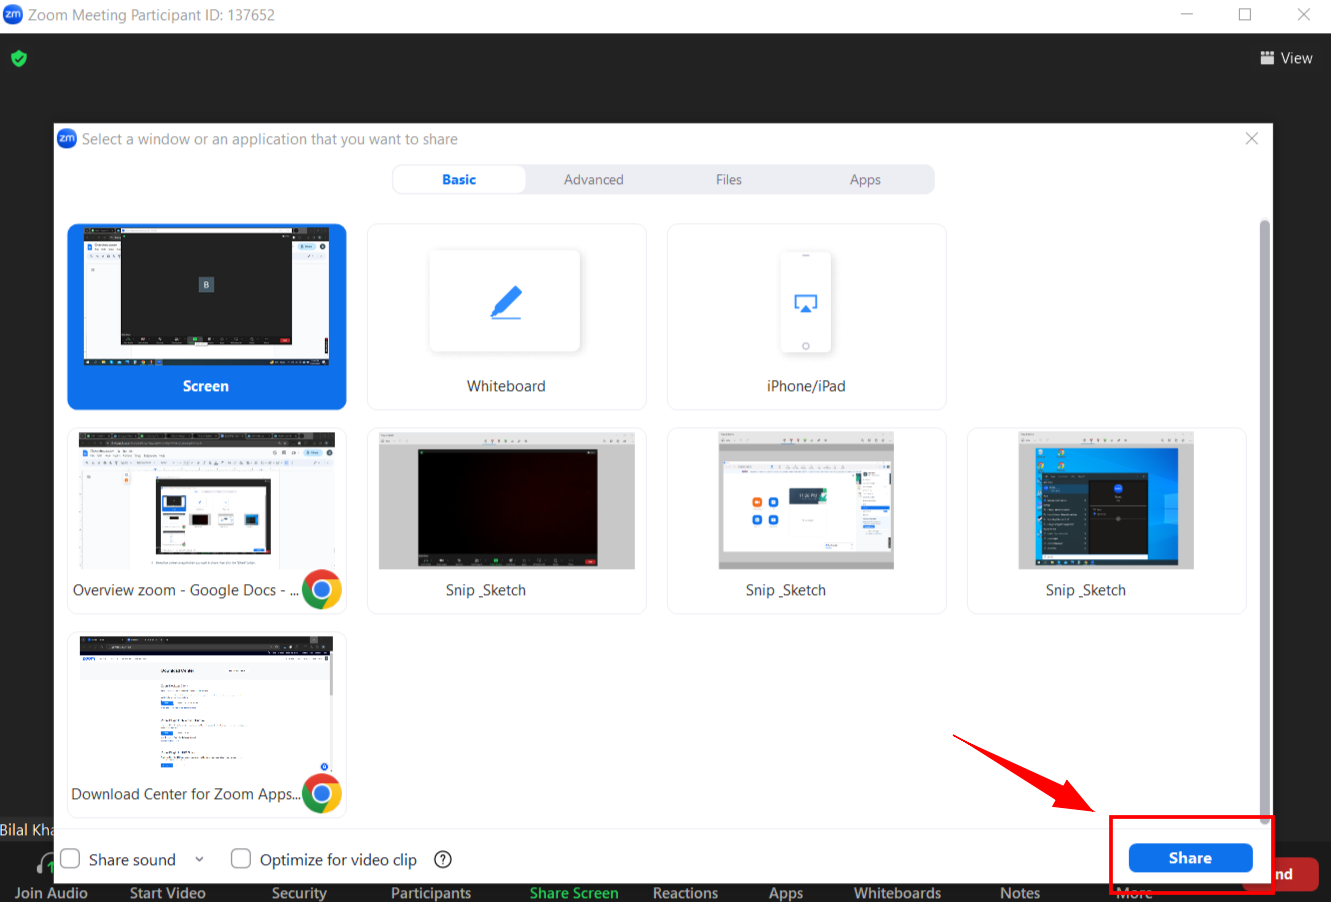
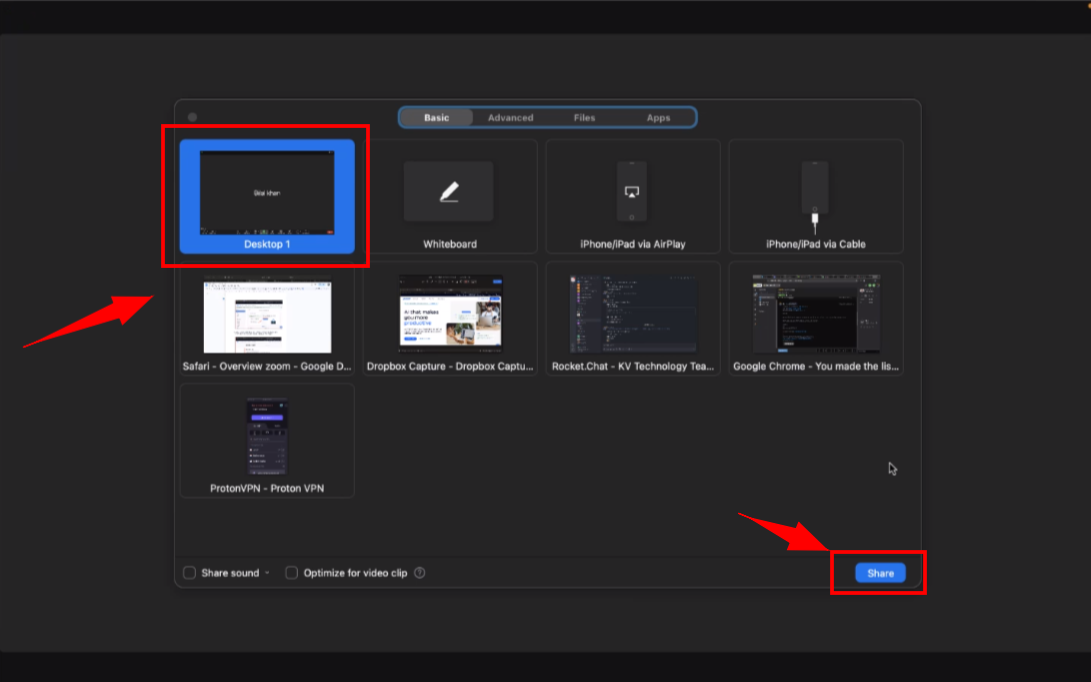
4. Select the screen or application you want to share, then click the "Share" button.
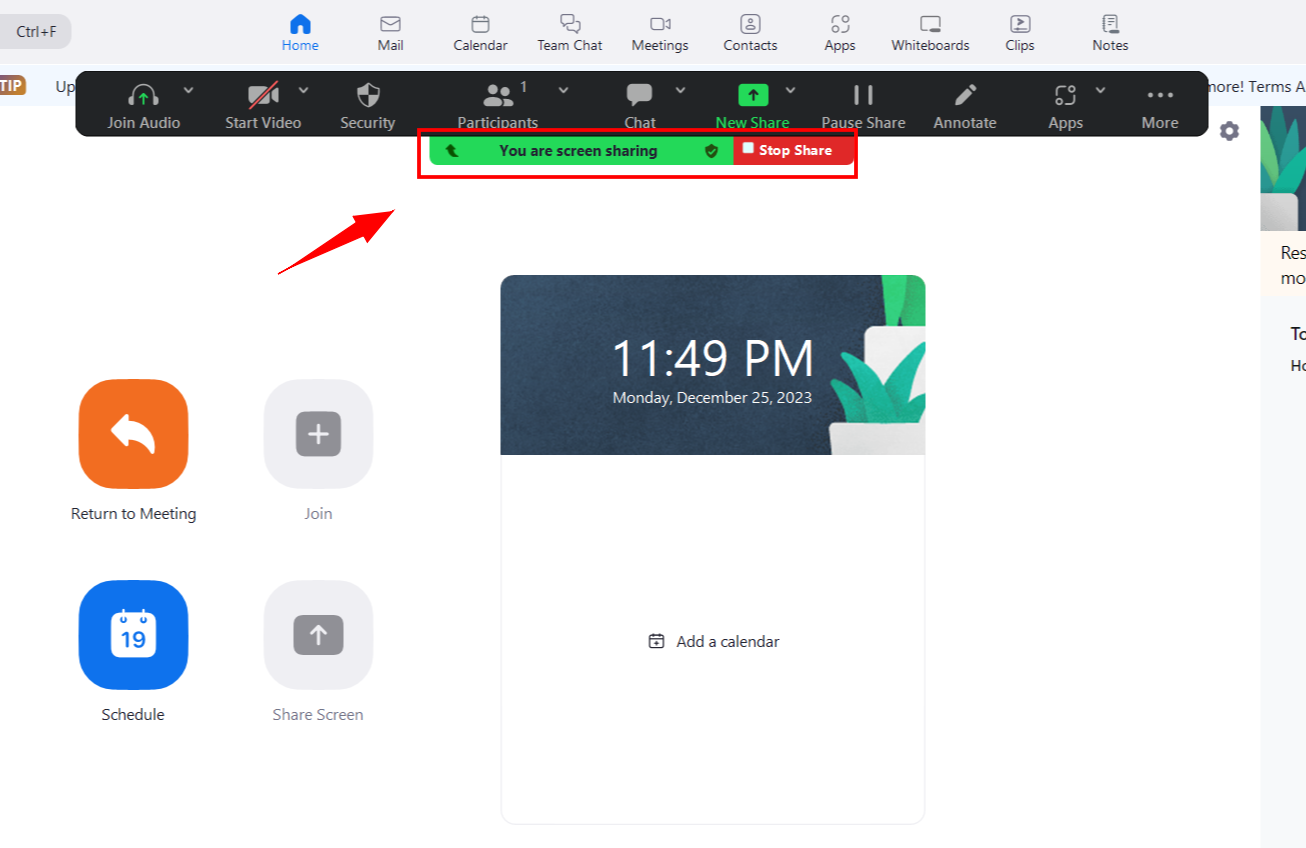
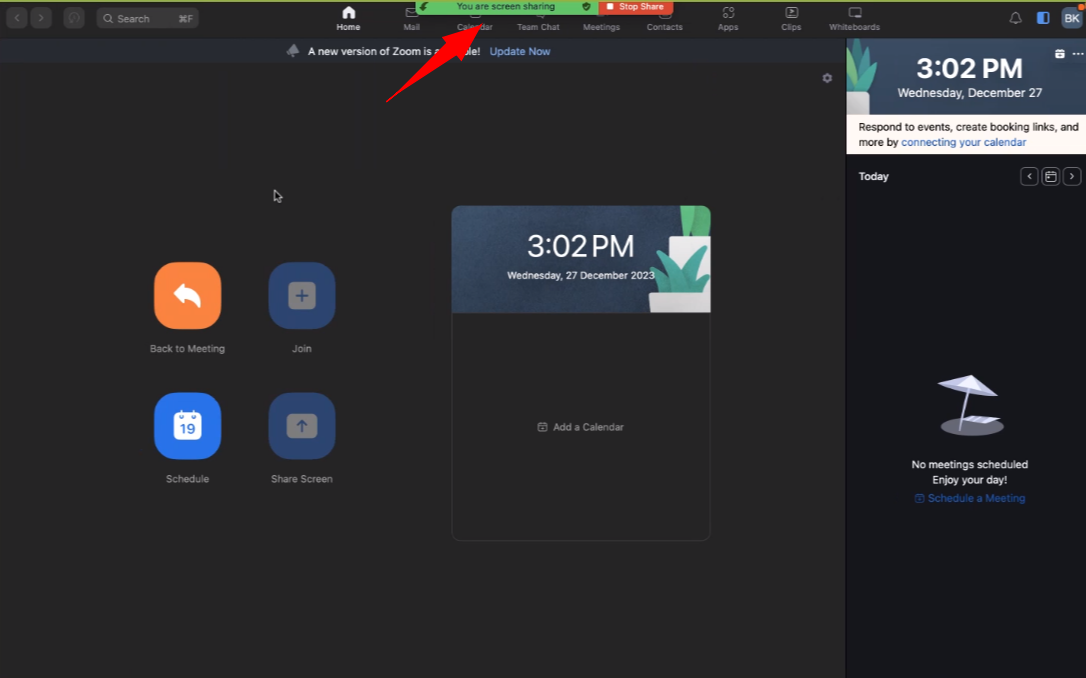
5. Confirm that the screen sharing feature is working properly by verifying that others in the meeting can see your shared screen.
Step 4: Enable Remote Control
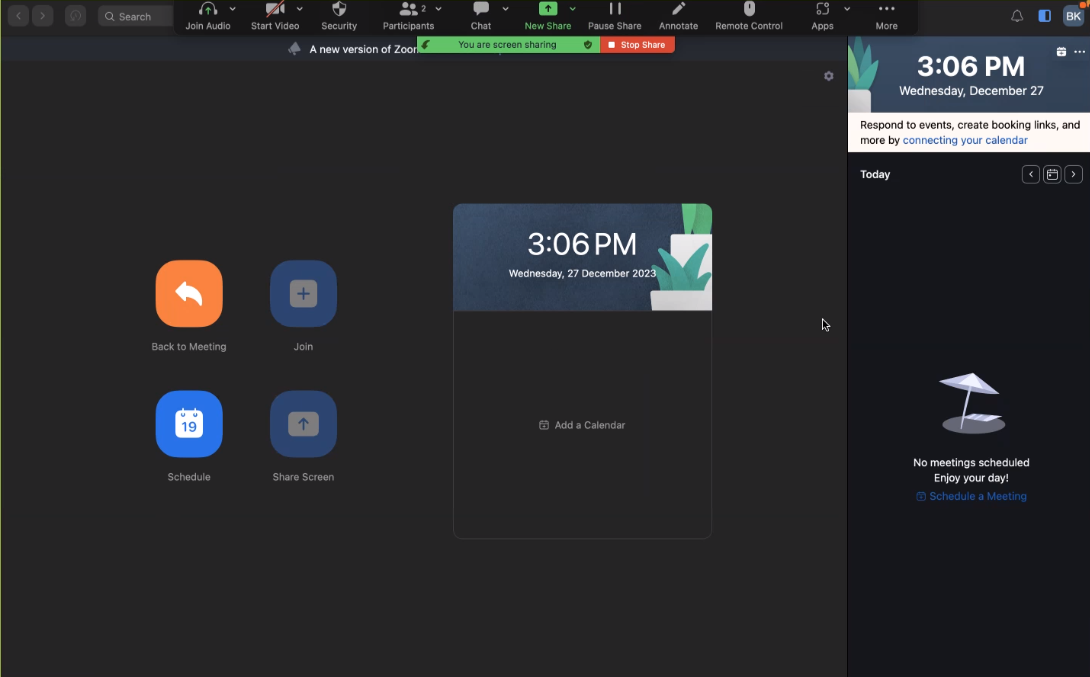
1. During a live Zoom call, the support agent may need to remotely control your computer to assist you better.
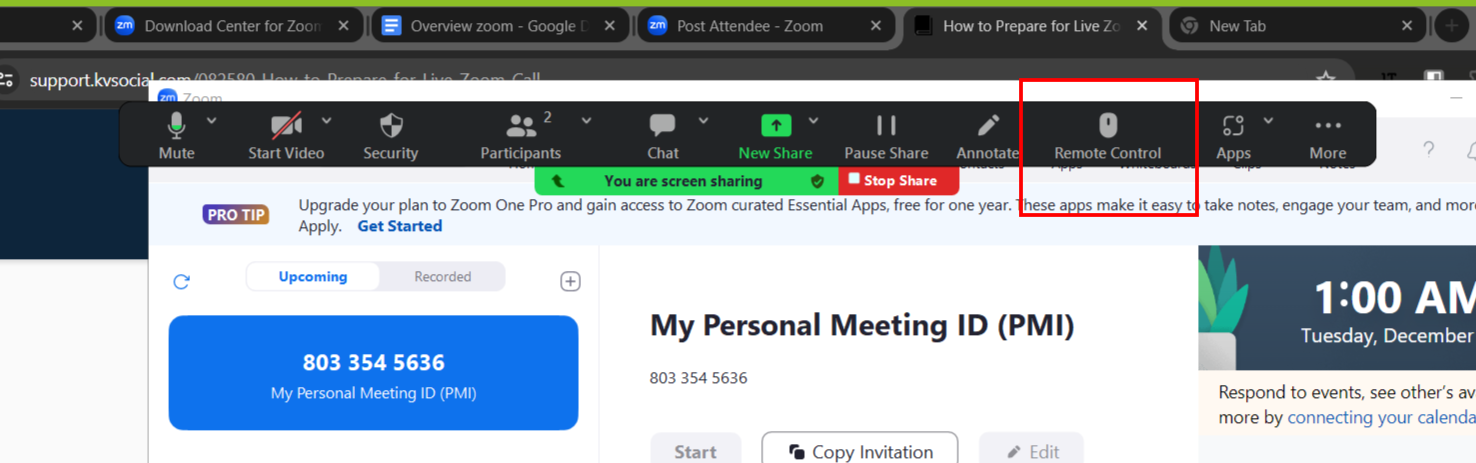
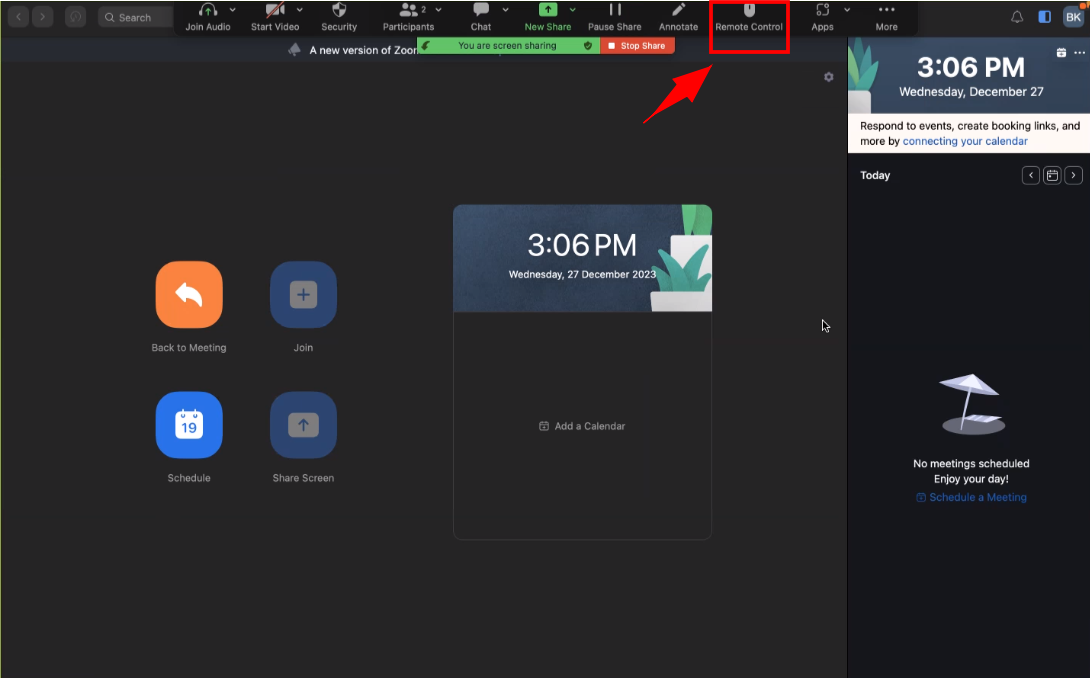
2. To enable remote control, click on the "Remote Control" button located at the top of the Zoom window during the call.
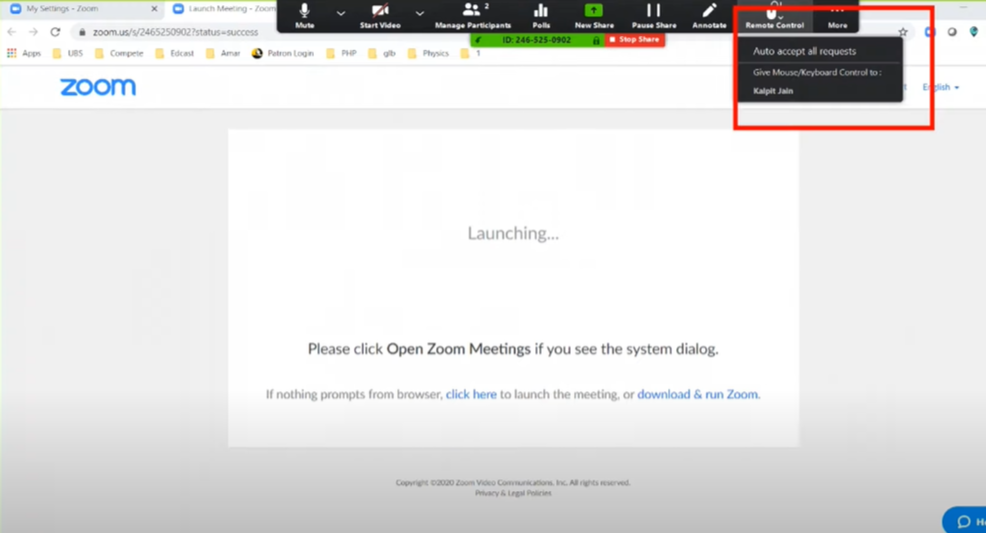
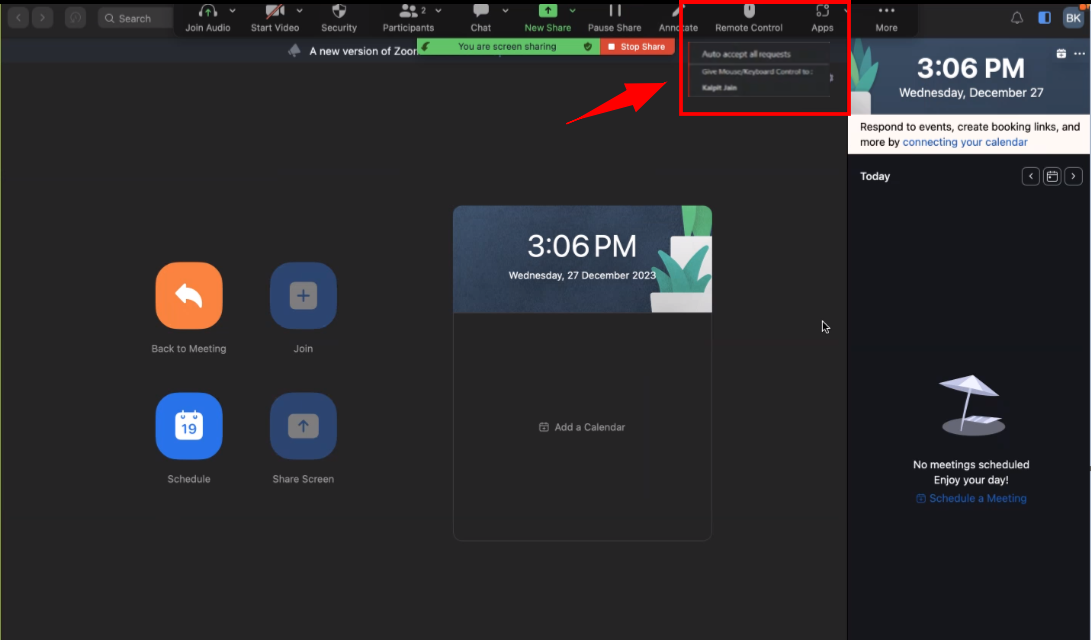
3. A request will be sent to the support agent, and they will ask for your permission to control your computer. Grant permission to allow remote control.
Step 5: Test Audio
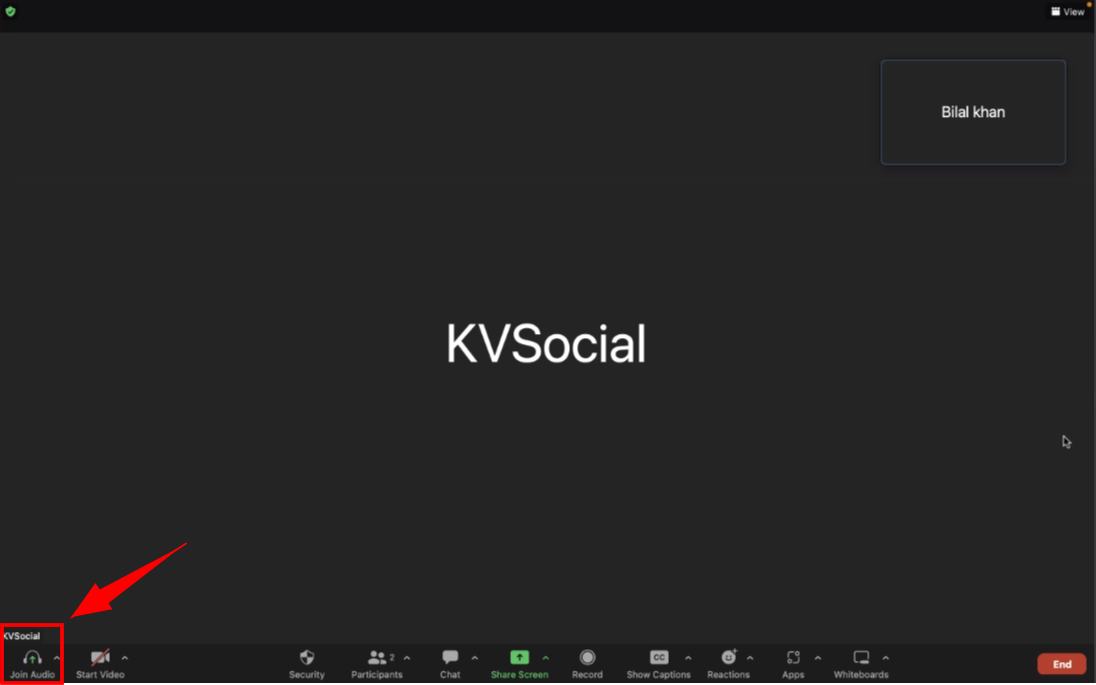
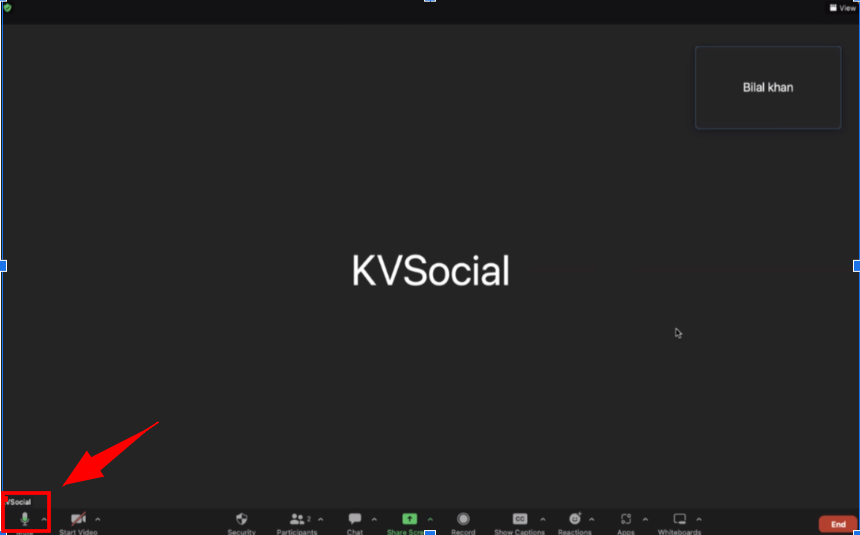
1. During a Zoom call or meeting, you need to ensure that your microphone is working correctly.
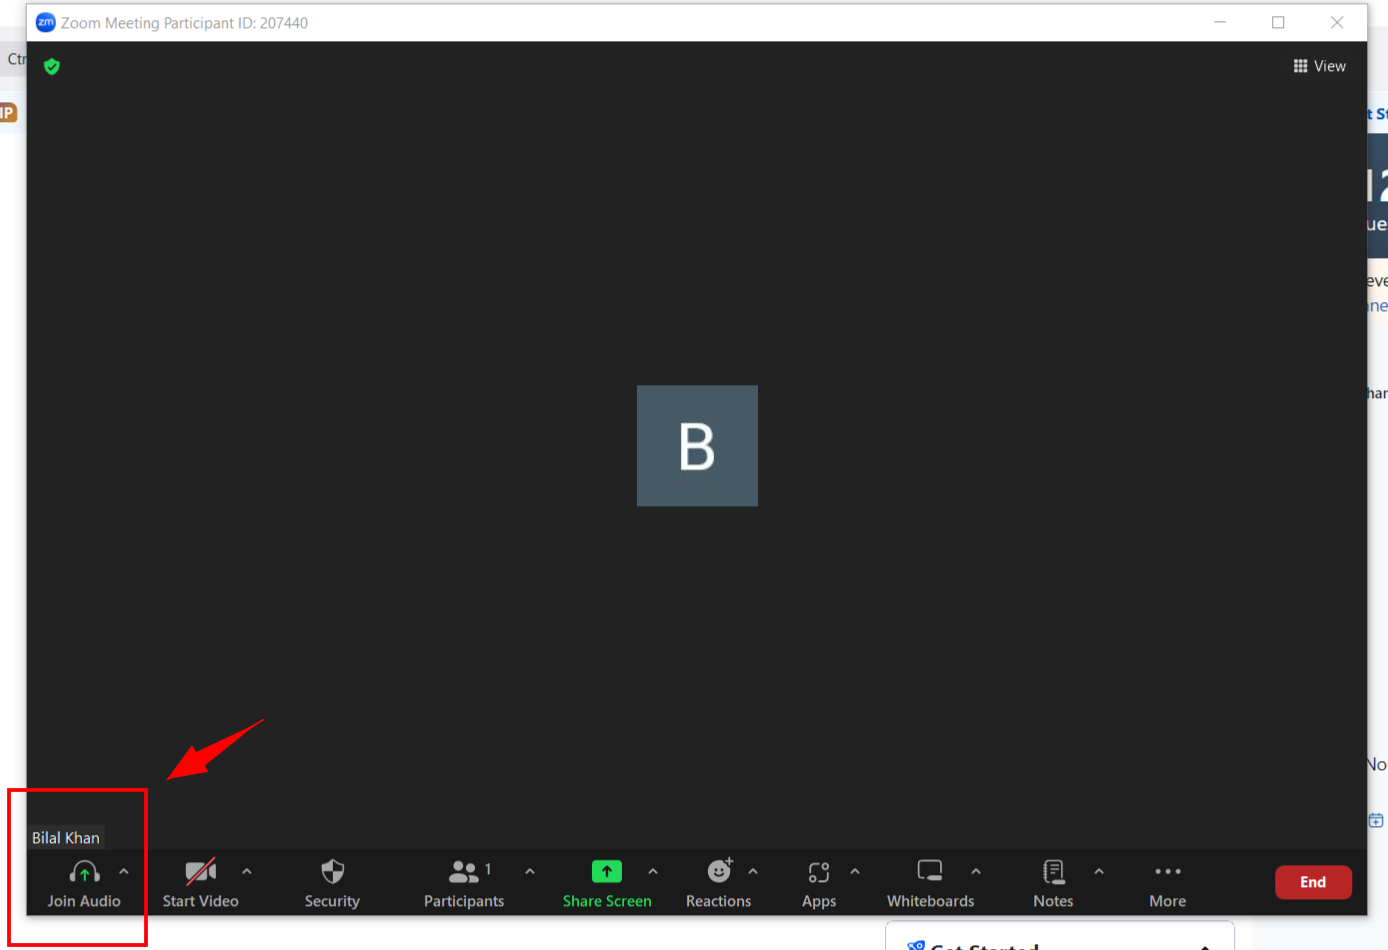
2. In the bottom left corner of the Zoom window, you will find a microphone icon. Click on the icon to test your microphone.
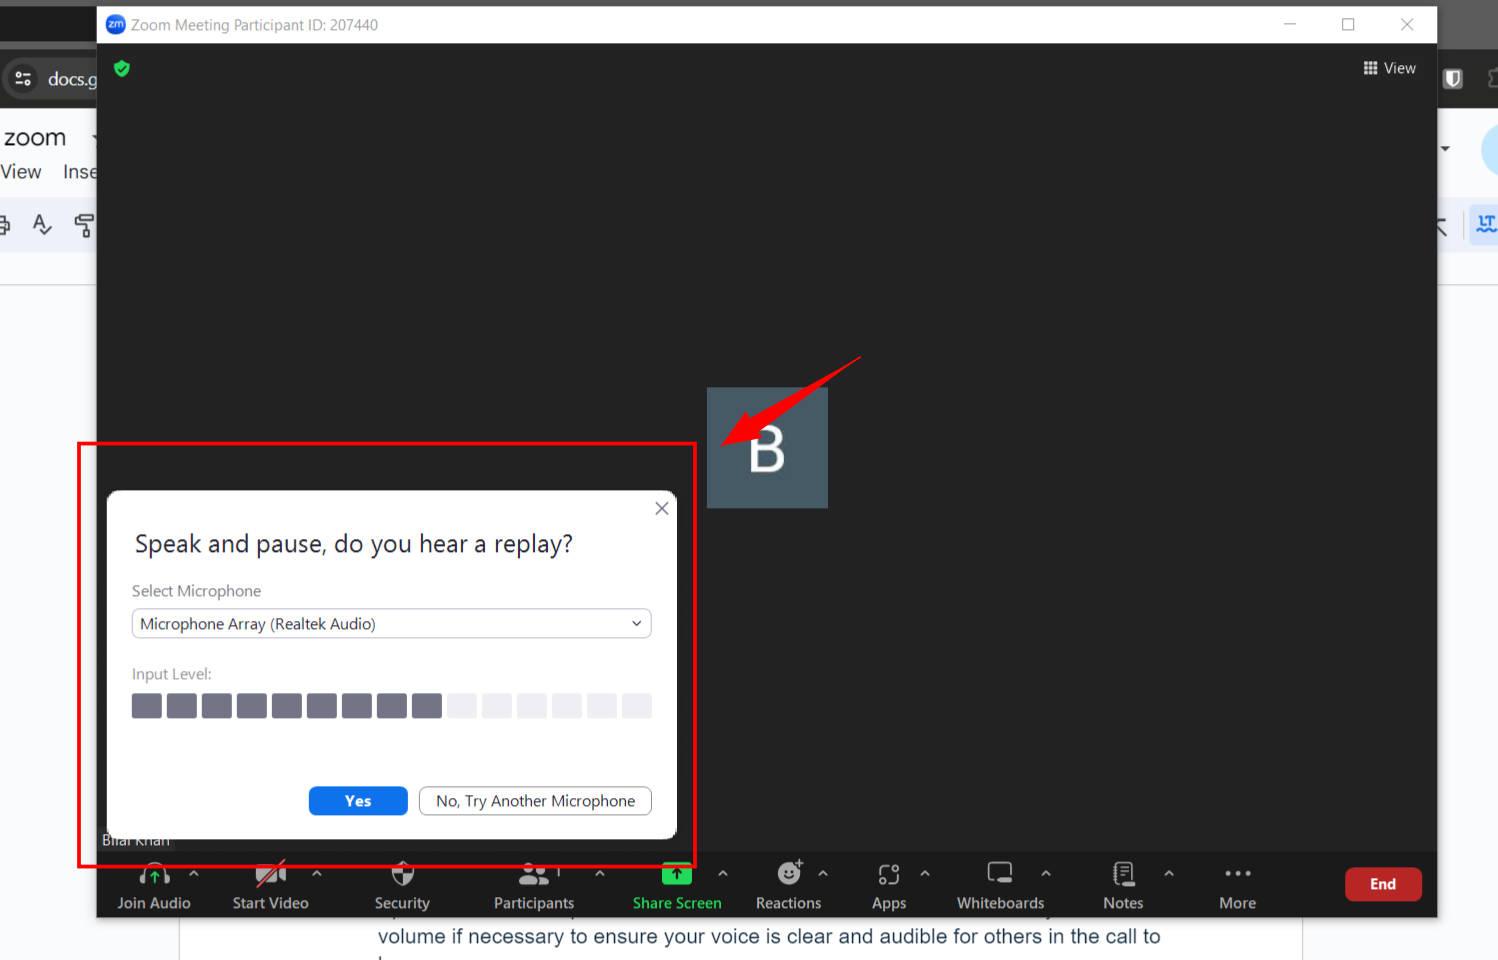
3. Speak into the microphone and observe the associated audio levels. Adjust the volume if necessary to ensure your voice is clear and audible for others in the call to hear you.
macOS
Step 1: Install Zoom
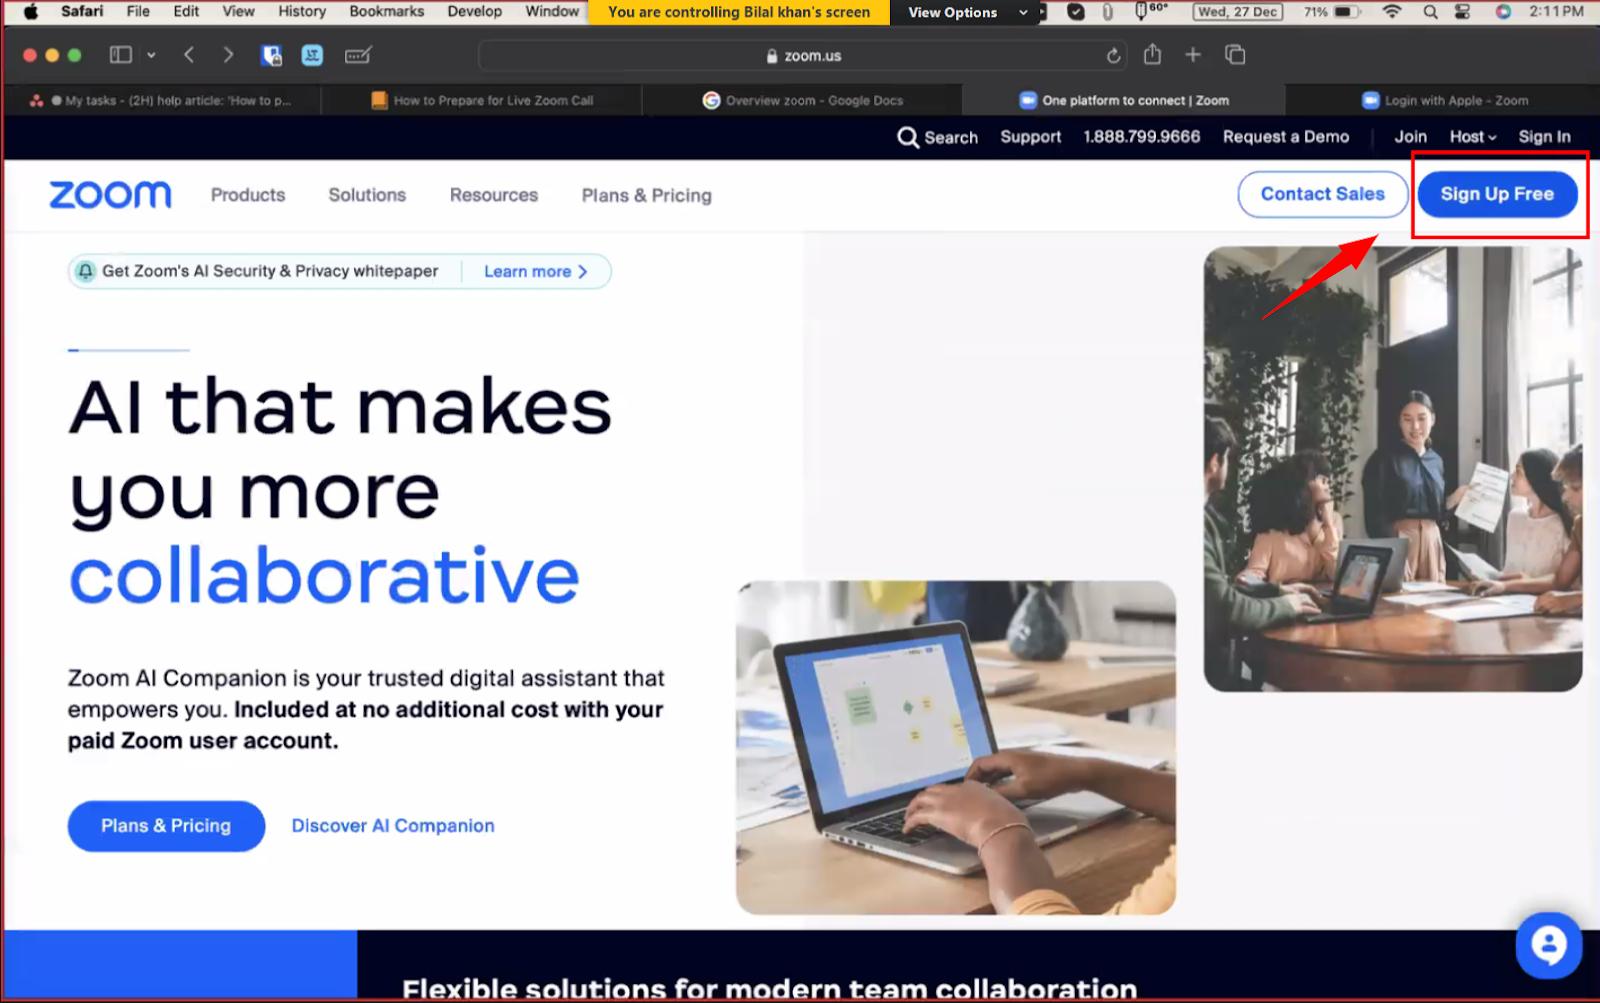
1. Open your web browser and visit the official Zoom website (https://zoom.us/).

2. Click on the "Sign Up, It's Free" button to create a Zoom account. Fill in the required information and click "Sign Up."
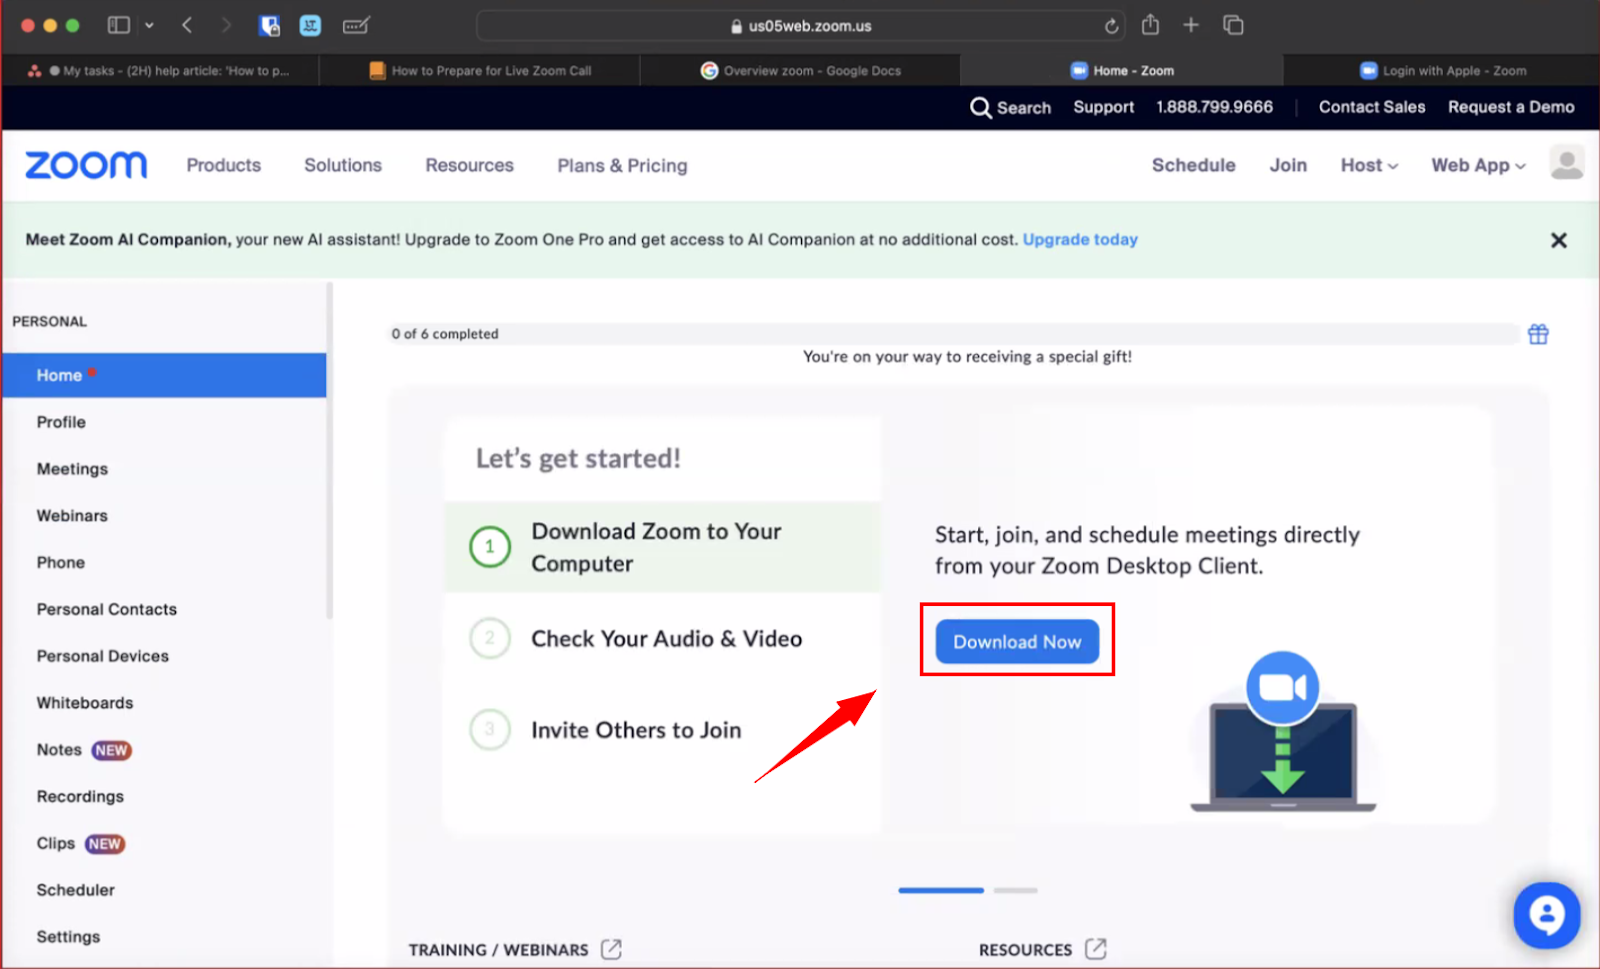
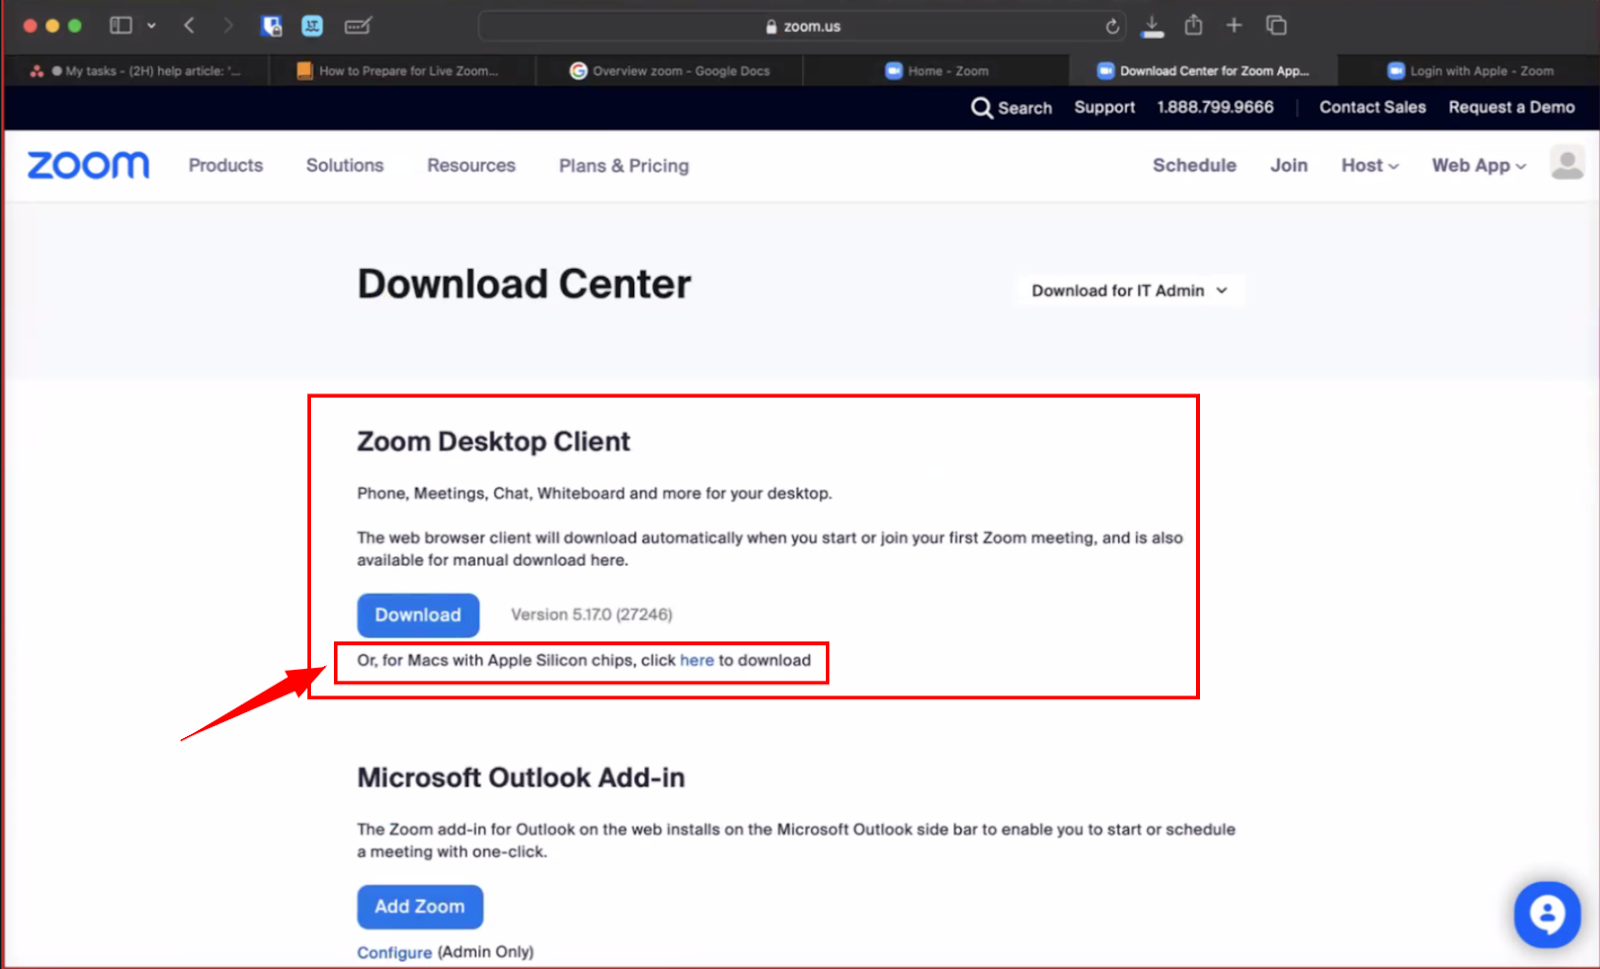
3. After creating an account, you will be redirected to the Zoom download page. Click on "Download" under "Zoom Client for Meetings" to download the installer for macOS.
4. Once the installer is downloaded, open it by double-clicking on the downloaded file. Follow the on-screen instructions to install Zoom on your macOS device.
Step 2: Check Zoom Settings
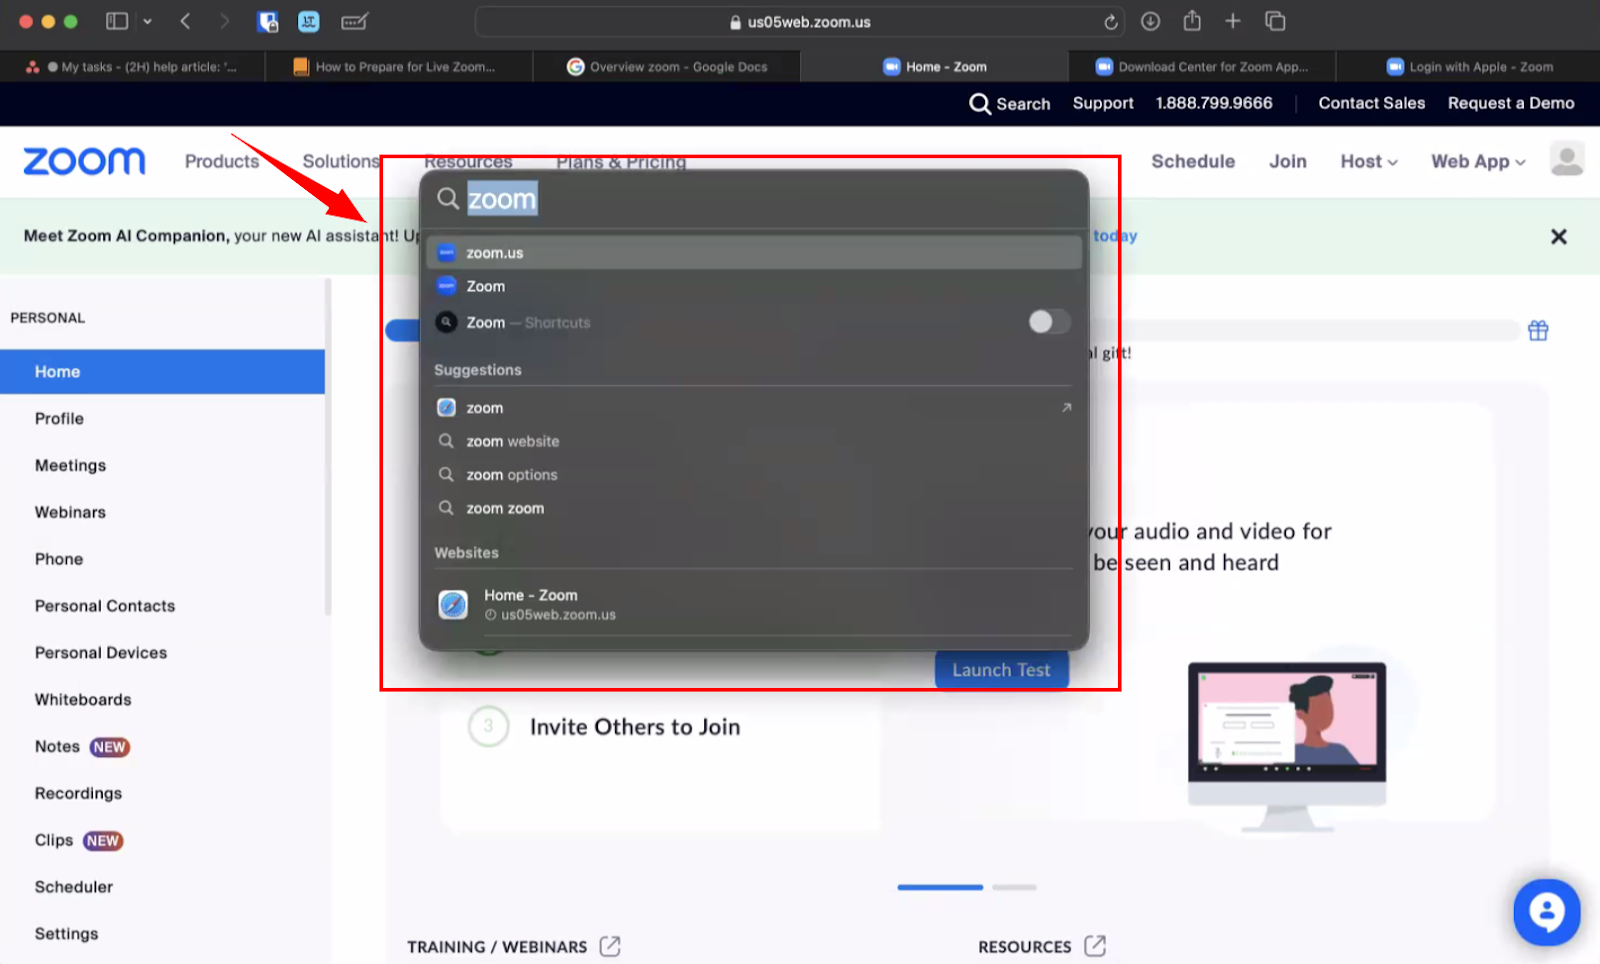
1. Launch the Zoom application on your macOS device. You can find it in the Applications folder, or by using Spotlight search (Cmd + Space bar) and typing "Zoom."
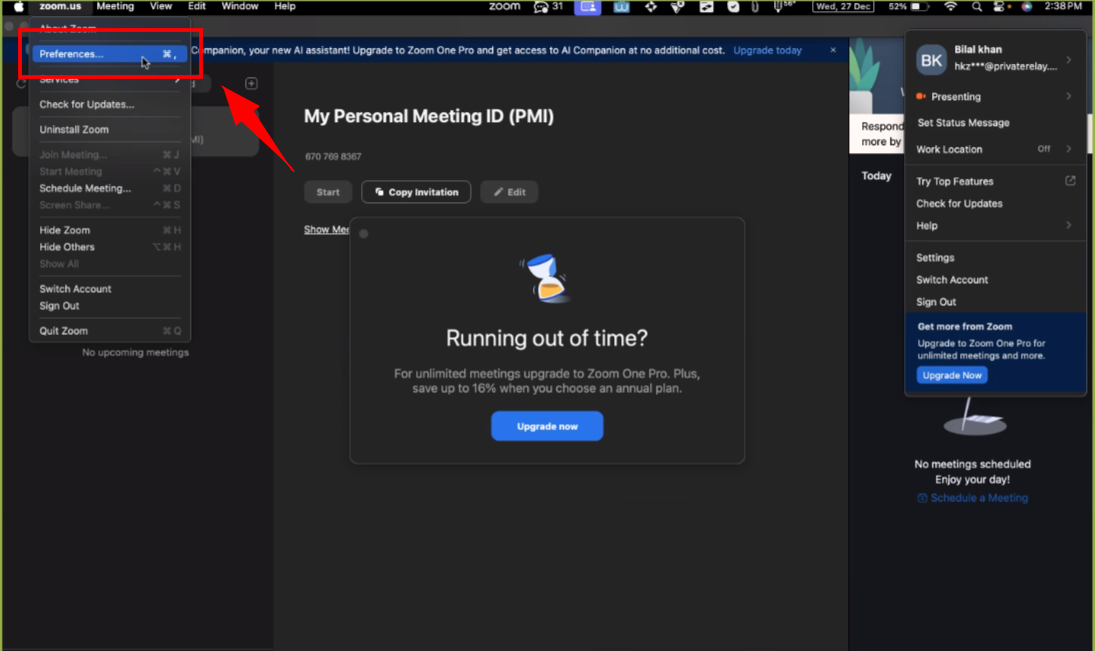
2. After the Zoom application opens, click on the "Zoom" menu located in the top-left corner of the screen. From the drop-down menu, select "Preferences."
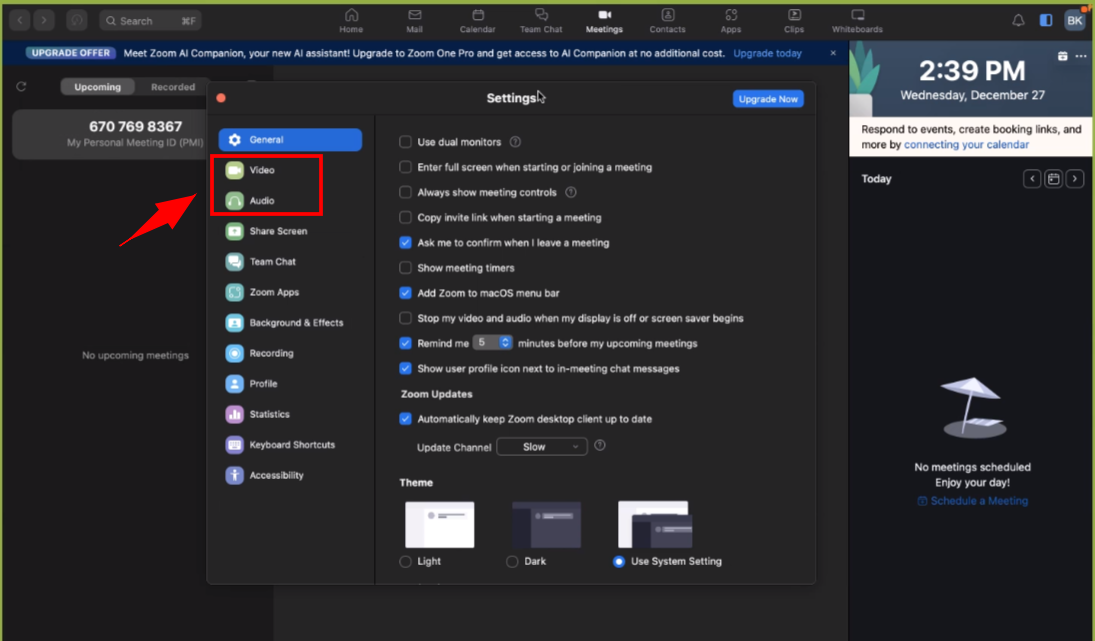
3. In the preferences window, you will find various settings. Click on "Audio" and "Video" to configure your audio and video devices. Make sure the correct microphone and camera are selected.
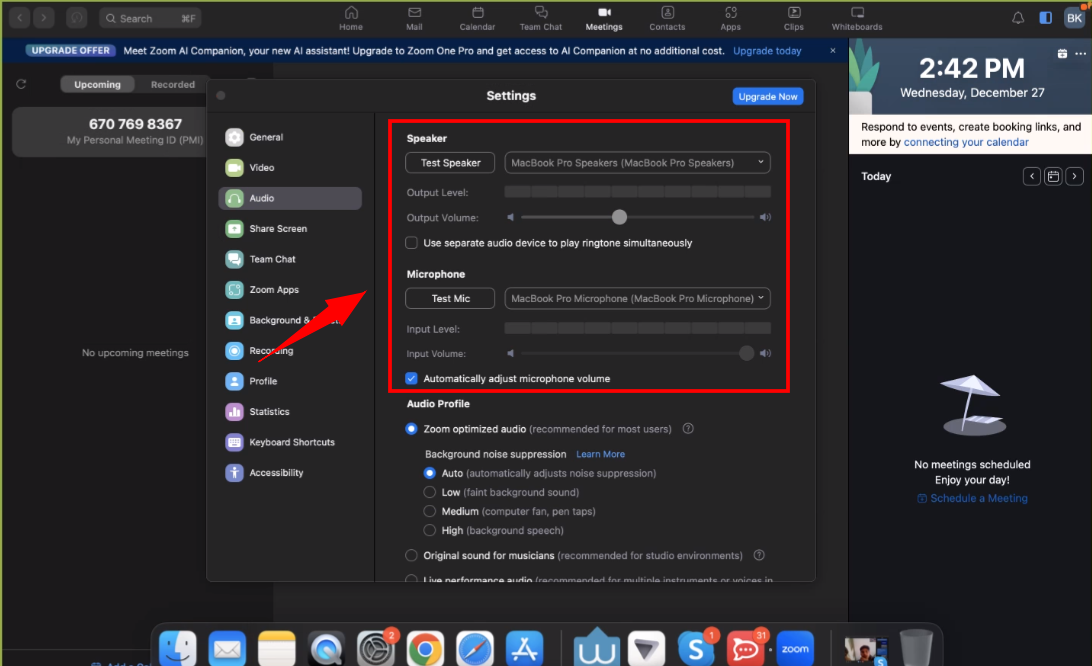
4. To test your audio settings, click on the "Test Speaker" and "Test Mic" buttons. Adjust the volume and microphone input as needed to ensure proper functionality.
Step 3: Test Screen Sharing
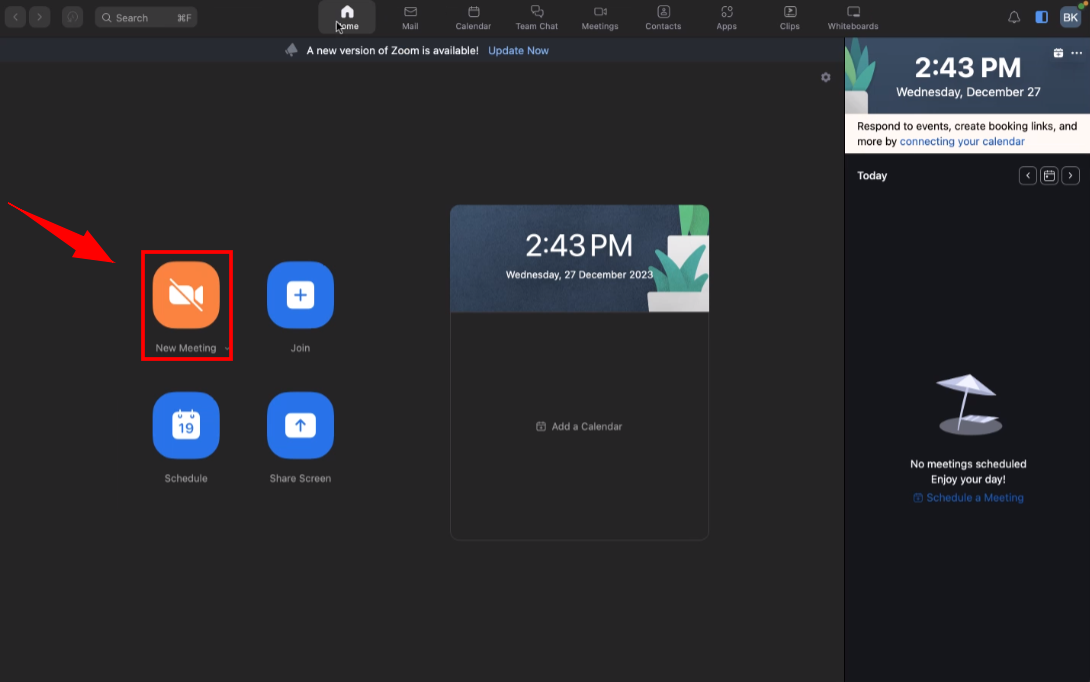
1. Start a new meeting by clicking on the "New Meeting" button in the Zoom application.
2. Once the meeting starts, you will see a toolbar at the bottom of the Zoom window. Click on the "Share Screen" button located in the center of the toolbar.
3. A dialogue box will appear, allowing you to choose what you want to share. You can either share your entire screen or select a specific application or window.
4. Select the screen or application you want to share, then click the "Share" button.
5. Confirm that the screen sharing feature is working properly by verifying that others in the meeting can see your shared screen.
Step 4: Enable Remote Control
1. During a live Zoom call, the support agent may need to remotely control your computer to assist you better.
2. To grant remote control access, click on the "Remote Control" button located at the top of the Zoom window during the call.
3. A request will be sent to the support agent, and they will ask for your permission to control your computer. Grant permission to allow remote control.
Step 5: Test Audio
1. During a Zoom call or meeting, it's important to ensure that your microphone is working correctly.
2. In the bottom left corner of the Zoom window, you will find a microphone icon. Click on the icon to test your microphone.
3. Speak into the microphone and observe the associated audio levels. Adjust the volume if necessary to ensure your voice is clear and audible for others in the call to hear you.